Why measure gloss?
Gloss is an aspect of the visual perception of objects that is as important as colour when considering the psychological impact of products on a
$3,705
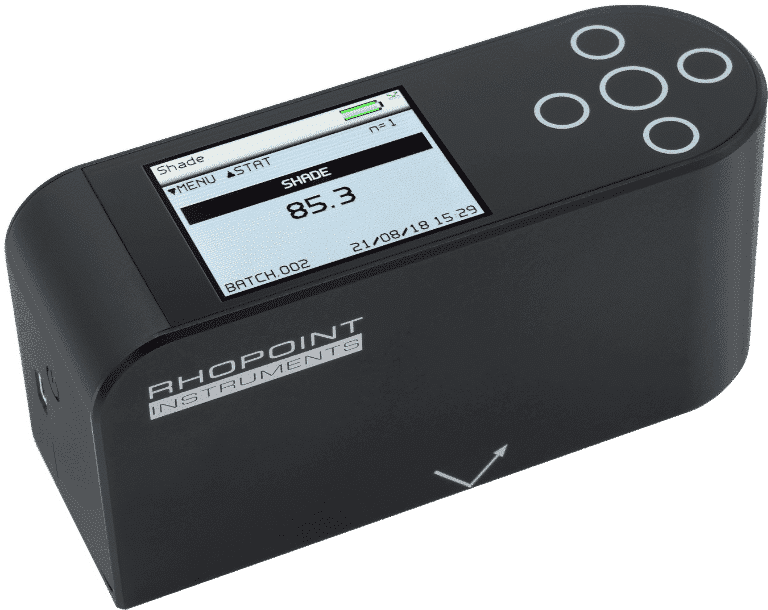
The Novo-Shade Duo+ is a portable 45/0° reflectometer that can be used to assess either the shade of a surface (a simple indication of colour based on lightness/darkness) or calculate the opacity of a coating, plastic film or paper sample. By measuring using 45/0°, the Novo- Shade Duo+ measures the colour of a surface and not the specular reflectance (gloss).
Measure the shade of a surface on a greyscale
Measure substrate opacity/hiding power
Measure substrate cleanliness
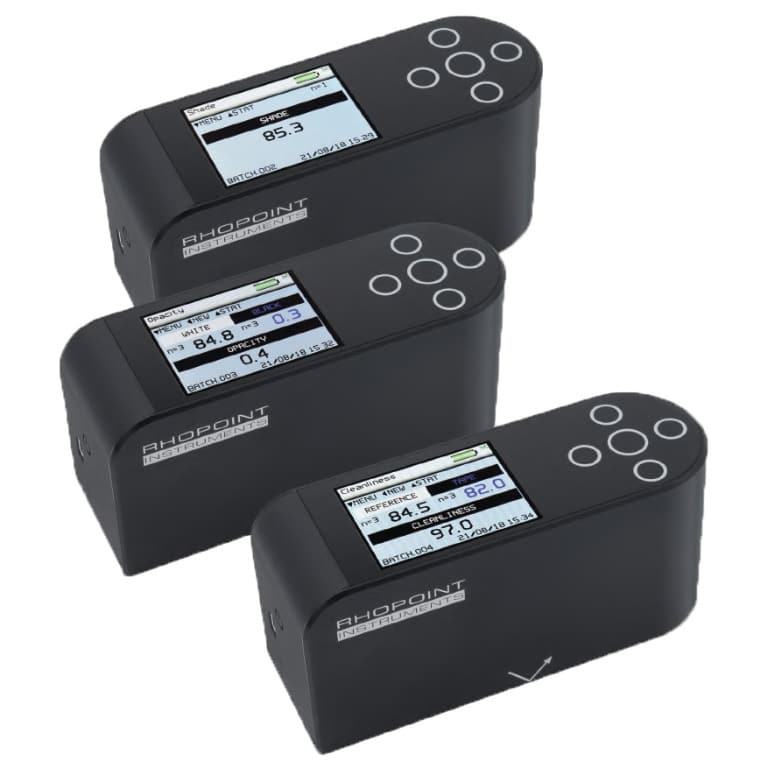
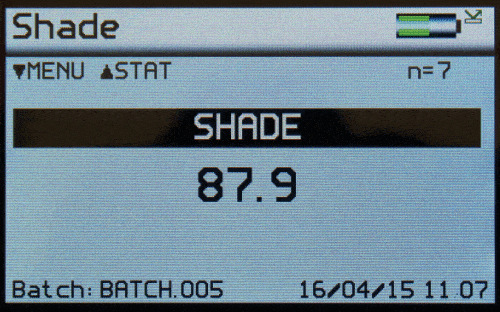
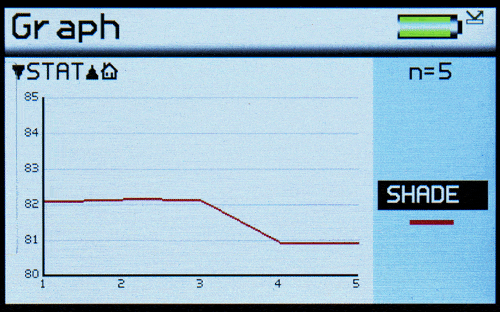
To measure the shade of a coating simply place the instrument on the surface of the sample to be measured and press the centre button. The value is displayed on the screen. The shade measurement is based on a greyscale value where black has a value of zero and white is the value of the calibration standard included with the instrument.
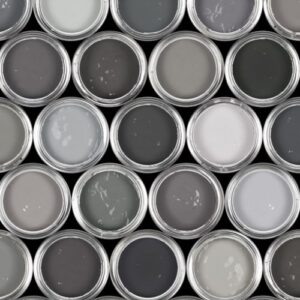
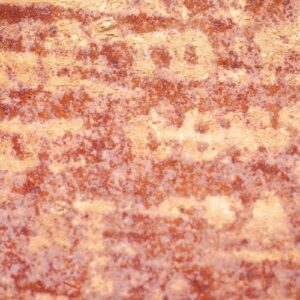
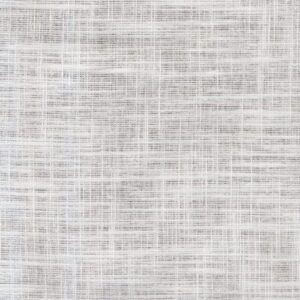

To measure the opacity of a coating, it must be drawn down on a Leneta-type opacity chart at the required film weight and allowed to fully dry. To measure the opacity of plastic film, paper, textile or any other semi-opaque material, the sample to be measured should be placed over a black and white test bed, a Leneta-type chart is also suggested.
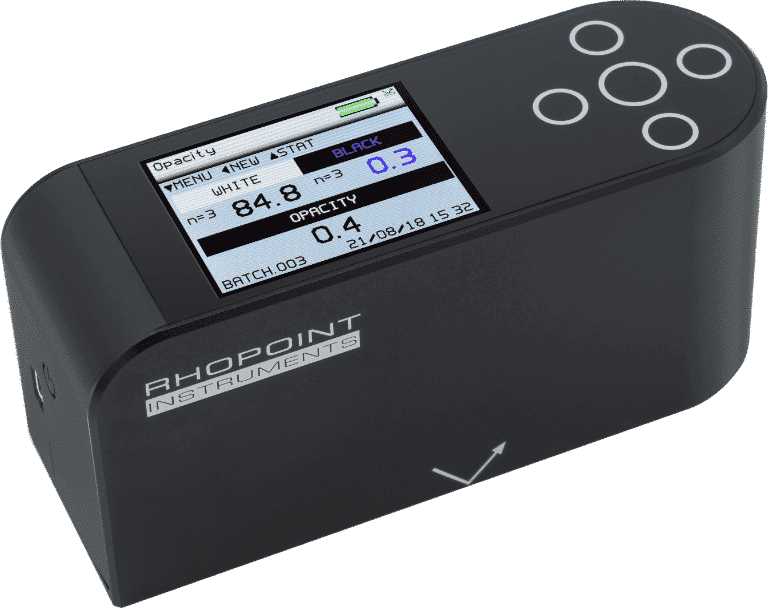
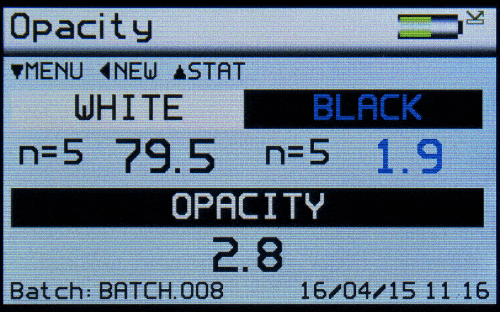
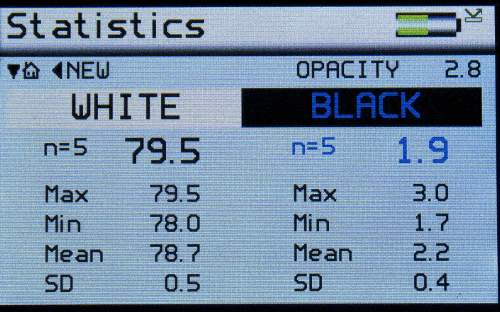
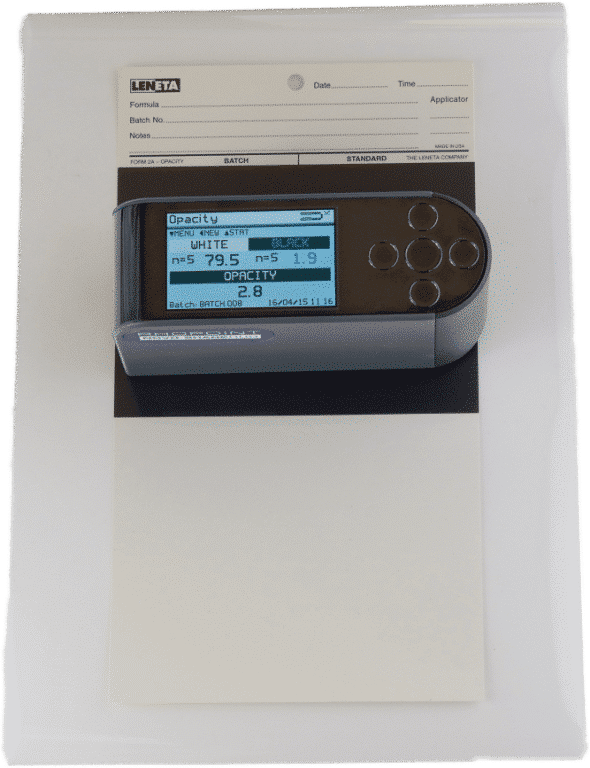
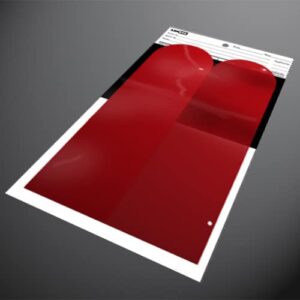
To measure cleanliness, clear tape is used to collect debris from the surface under test. This is then stuck to any suitable white substrate along with a sample of tape that is perfectly clean.
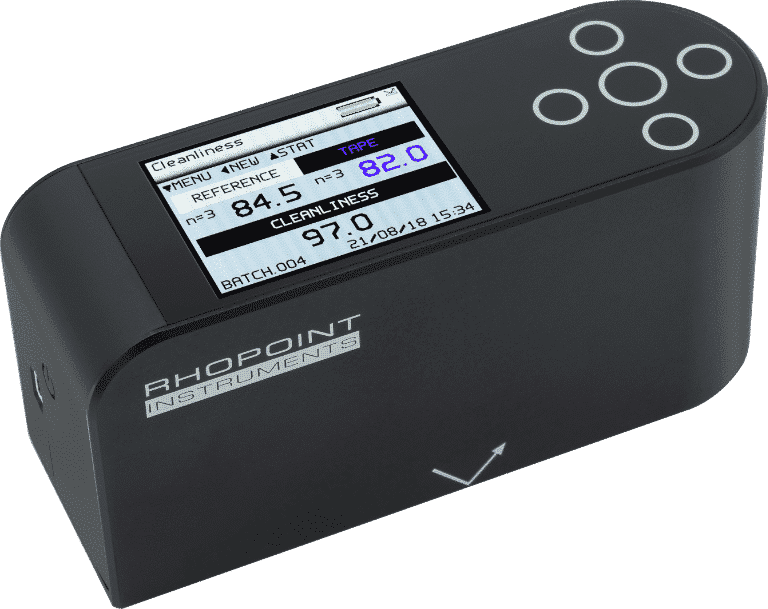
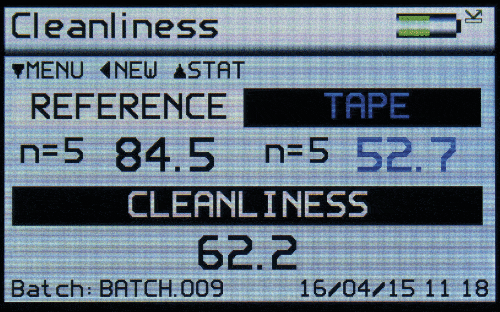
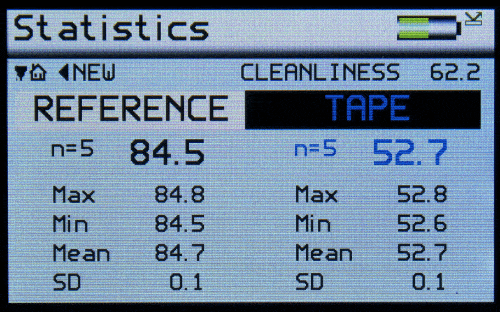
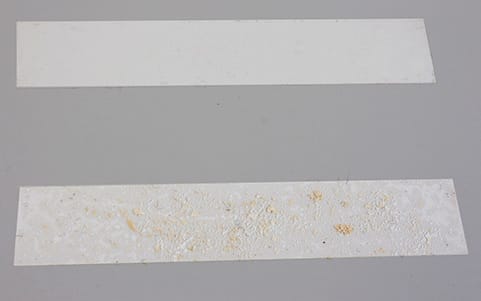

The instrument is controlled by pressing the relevant touch sensitive buttons. Functionality is dependent on which operating mode the instrument is in.
The Pass/Fail setup screen is used to enable/disable on-screen pass/fail indication and set min/max tolerancing for easy identification and reporting of non-confomances.
USB connection to a computer instantly recognises the device as a drive location which facilitates the quick transfer of files using Windows File Explorer or similar software.
20,000+ readings per charge. The instrument is rechargeable via USB/PC or mains.
User definable batch names and batch sizes for quicker and more efficient reporting.
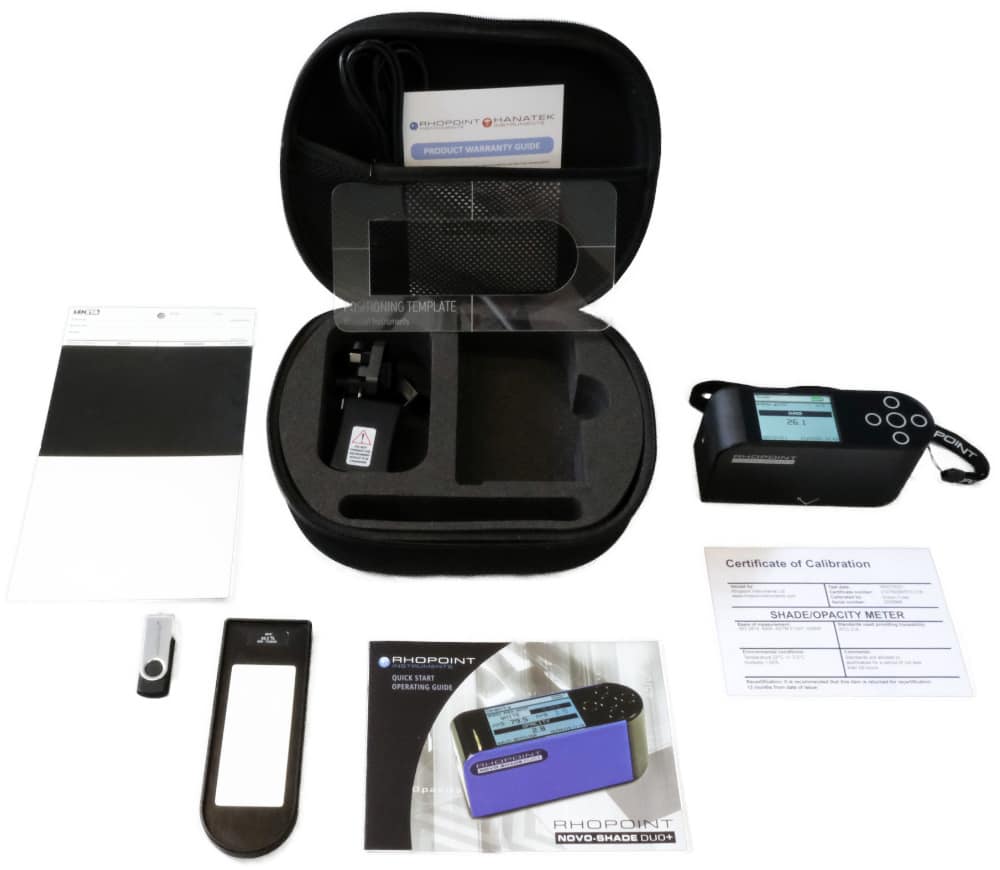
| Instrument Information | ||
|---|---|---|
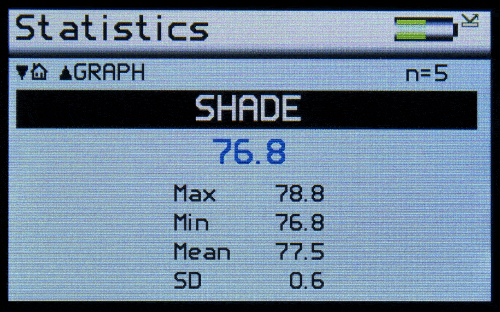
| Statistical Analysis | Max, Min, Mean, SD | |
| Graphical Analysis | On board trend analysis | |
| Power | Rechargeable lithium-ion battery 17+ hours operation 20,000+ readings per charge | |
| Recharge Time | Mains charger: 4hrs | |
| Standards | ASTM E97, ASTM D4214, ASTM D2805, ASTM D589, BS 3900-D4, BS 3900-D7, DIN 6125, ISO 2814, ISO 6504 | |
| Memory | 8 MB = 999 readings User definable alphanumeric batching | |
| Data Transfer | Bluetooth USB connection (no software installation required) | |
| Performance | Resolution 0.1 Repeatability 0.2% Reproducibility 0.5% Operating temperature 15°C - 40°C (60°F - 104°F) Humidity up to 85% (non-condensing) | |
| Dimension & Weights | ||
|---|---|---|
| Measurement Spot Size | 15mm x 10mm elipse | |
| Unit Dimensions | 65mm (H) x 140mm (W) x 50mm (D) | |
| Unit Weight | 790g | |
| Packed Weight | 1.75kg | |
| Packed Dimensions | 180mm (H) x 330mm (W) x 280mm (D) | |
| Commodity Code | 9027 5000 | |
| Order Code | A4000-010 | |
| Measurement Units | ||
|---|---|---|
| Shade Mode | 0 = Black – no reflectance 100 = Brilliant white – full reflectance | |
| Opacity Mode | 0 = Completely transparent 100 = Fully opaque | |
| Cleanliness Mode | 0 = No change 100 = Maximum change | |
Free extended 2 year warranty: Requires registration at www.rhopointinstruments.com/help-services/forms-feedback/instrument-registration/ within 28 days of purchase. Without registration, 1 year standard warranty applies.
Fast and economic service via our global network of accredited calibration and service centres. Please visit www.rhopointinstruments.com/help-services/calibration-servicing/ for detailed information.
Gloss is an aspect of the visual perception of objects that is as important as colour when considering the psychological impact of products on a
High Gloss >70 GU If measurement exceeds 70 GU at 60°, change test setup to 20° Medium Gloss 10 – 70 GU Low Gloss
RSpec is the peak reflectance measured over a very narrow angular band in the specular direction (+/-) 0.0991º. RSpec is very sensitive to any texture
Please note, this is NOT a quotation, just a confirmation of the price when purchased in the UK exclusive of VAT/duties