Why measure gloss?
Gloss is an aspect of the visual perception of objects that is as important as colour when considering the psychological impact of products on a
The Rhopoint TAMS provides measurement data that closely correlates to human perception, is easier to understand and communicate.
For maximum impact, an automotive paint finish must instantly produce an appealing visual sensation for the customer. This can only be achieved if the overall surface finish displays both high quality and harmony.
Rhopoint TAMS has become an industry standard way of quantifying appearance quality inspired by a four-year collaboration between Rhopoint, Volkswagen AG and AUDI AG.
This innovative new technology models the human perception of surface appearance quality, providing new parameters that revolutionise the understanding and communication of visual appearance information.
Improved correlation and easy communication gives Rhopoint TAMS a major advantage over existing methods that produce complex results relying on the user to interpret the values into a real-life visual experience.
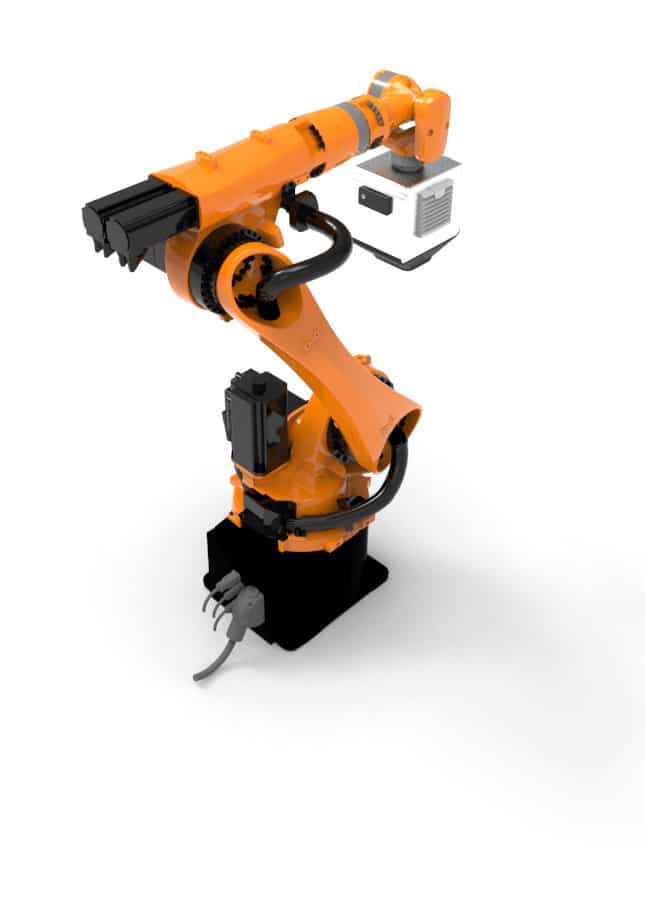
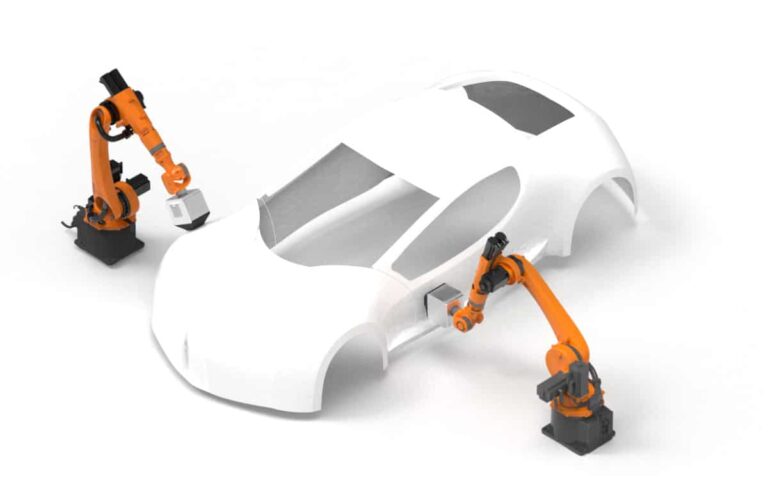
TAMS measurement sensor integrates fully into an inline inspection process.
All measurements made with RoboTAMS are compatible with measurements made with the Rhopoint TAMS.
RoboTAMS is designed for top coat evaluation as part of the production line or offline measurement cell. The sensor is able to able to capture high resolution maps of surfaces and has the possibility to measure e-coat and raw materials.
When viewing a vehicle surface, the eye naturally adjusts focus several times. Focusing on the environment, it looks at images of reflected objects observing distortion and clarity. Focusing on the surface the eye observes waviness, texture and defects.
Movement by the viewer during observation causes the reflected environment to move across the surface. This natural action increases the perception of waviness.
The brain processes this information and formulates sensations of quality and harmony.

One single value rates the total appearance quality of a surface. 100% indicates a smooth finish with perfect image forming characteristics.
TAMS quality is calculated using waviness and sharpness values predicting the visual rating of the customer.

Based on extensive human perception research by AUDI AG, this value indicates the acceptability of adjacent car parts. It is calculated using Waviness and Dimension parameters.
A value of >1.0 indicates parts are not similar and if viewed together will detract from overall visual quality.
Data from the TAMS vision system is processed using perception algorithms derived from extensive human perception studies.
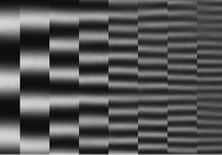
Sharpness quantifies the accuracy of images reflected in the surface, 100% indicates a perfect reflection.
At close distances (<0.5m) SHARPNESS measures how well surface reflects fine details. At showroom viewing distance (1.5m) SHARPNESS quantifies haze and clarity.




Contrast is related to the colour of the surface; white and metallic surfaces have low contrast, a deep black measures 100%. Contrast quantifies the visual impact of orange peel and haze effects both being more visible on high contrast dark colours.


Indicates the dominant structure size perceived at showroom viewing distance. Typical values are between 1–6mm, the dominant structure size is important in determining the harmony between adjacent panels/parts.


Correlated to human perception, waviness quantifies the visible impact of surface waves to an observer at showroom distance (1.5m). The waviness of a surface is critical for determining appearance quality. Low waviness surfaces tend to be preferred by the viewer.

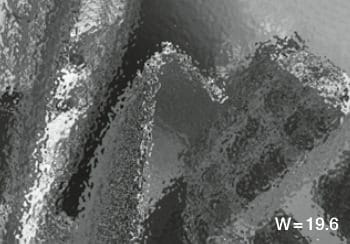
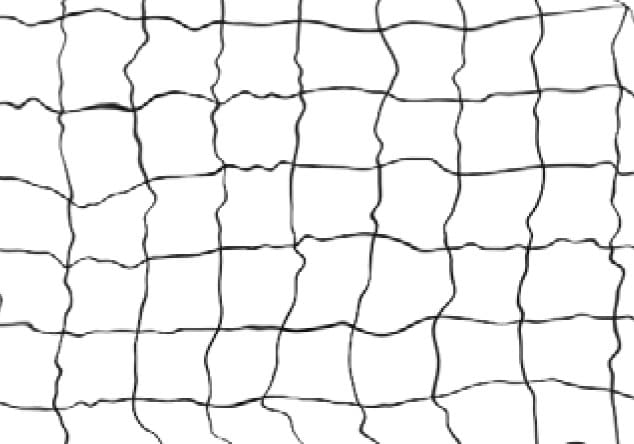
To achieve close correlation with human perception TAMS emulates the human evaluation of a reflective surface, changing its imaging system focus from surface to reflected image.

| Sharpness | ||
|---|---|---|
| Units | S (%) | |
| Minimum (No visible reflection) | 0 | |
| Maximum (Perfect mirror) | 100 | |
| Resolution | 0.1 | |
| Repeatability | 0.1 (SD) | |
| Reproducibility | 0.5 (SD) | |
| Measurement Technique | Optical Transfer Function | |
| Waviness | ||
|---|---|---|
| Units | W (W units) | |
| Minimum | 0 | |
| Maximum (typical) | 30 | |
| Resolution | 0.1 | |
| Repeatability | 0.2 (SD) | |
| Reproducibility | 1 (SD) | |
| Measurement Technique | Reflected Image Line Deformation Analysis | |
| Correlation | AUDI AG MDS Perception analysis | |
| Quality | ||
|---|---|---|
| Units | Q (%) | |
| Minimum | 0 | |
| Maximum (typical) | 100 | |
| Resolution | 0.1 | |
| Repeatability | 0.8 (SD) | |
| Reproducibility | 1 (SD) | |
| Algorithm | Calculated using Sharpness & Waviness | |
| Correlation | AUDI AG MDS Perception analysis | |
| Contrast | ||
|---|---|---|
| Units | C (%) | |
| Minimum (Perfect Diffuse White) | 0 | |
| Maximum (Perfect Black) | 100 | |
| Resolution | 0.1 | |
| Repeatability | 0.1 (SD) | |
| Reproducibility | 0.3 (SD) | |
| Measurement Technique | Optical Transfer Function | |
| Dimension | ||
|---|---|---|
| Units | D (mm) | |
| Minimum | 0.5 | |
| Maximum (typical) | 8 | |
| Resolution | 0.1 | |
| Repeatability | 0.1 (SD) | |
| Reproducibility | 0.4 (SD) | |
| Measurement Technique | Phase Measurement Deflectometry | |
| Correlation | AUDI AG MDS Perception analysis | |
| Harmony | ||
|---|---|---|
| Units | H (H units) | |
| Minimum | 0 | |
| Maximum (typical) | 8.9 | |
| Resolution | 0.1 | |
| Repeatability | 0.1 (SD) | |
| Reproducibility | 0.4 (SD) | |
| Algorithm | Calculated using Waviness & Dimension | |
| Correlation | AUDI AG MDS Perception analysis | |
| Instrument Information | ||
|---|---|---|
| Fully enclosed unit with integrated capture and analysis | Yes | |
| Measurement Area | 25 x 14mm FOV (field of view) | |
| Compatible results | with Rhopoint TAMS | |
| Capture Time | <2 Seconds | |
| Spatial resolution | 32um / pixel | |
| Results output | CSV | |
| Positioning error detection | Yes | |
| Calibration station for instrument check and focus setting | Yes | |
| Inbuild optical component contamination reduction system | Yes | |
| Power and Connectivity | ||
|---|---|---|
| Connection | LAN Ethernet | |
| Flexible connection options | Yes | |
| Power | 24 Volts (max current 3 Amps) | |
| Range of robot mounting options | Yes | |
Free extended 2 year warranty: Requires registration at www.rhopointinstruments.com/help-services/forms-feedback/instrument-registration/ within 28 days of purchase. Without registration, 1 year standard warranty applies.
Guaranteed for the life of the instrument.
Fast and economic service via our global network of accredited calibration and service centres. Please visit www.rhopointinstruments.com/help-services/calibration-servicing/ for detailed information.
Gloss is an aspect of the visual perception of objects that is as important as colour when considering the psychological impact of products on a
High Gloss >70 GU If measurement exceeds 70 GU at 60°, change test setup to 20° Medium Gloss 10 – 70 GU Low Gloss
RSpec is the peak reflectance measured over a very narrow angular band in the specular direction (+/-) 0.0991º. RSpec is very sensitive to any texture
Please note, this is NOT a quotation, just a confirmation of the price when purchased in the UK exclusive of VAT/duties