Why measure gloss?
Gloss is an aspect of the visual perception of objects that is as important as colour when considering the psychological impact of products on a
Accurate and repeatable thickness measurements can improve product quality whilst controlling the costs associated with raw material usage.
The thickness of a material can directly impact the value of many other parameters including:
Plastic films are often used to encapsulate, protect and preserve products that are sold to consumers or industry. The film is used as a two way barrier to stop product leaking out and also external contaminants migrating in.

Physical test parameters can be factory configured according to international standards or customer requirements. The accuracy of thickness measurement is determined by several key operating factors.
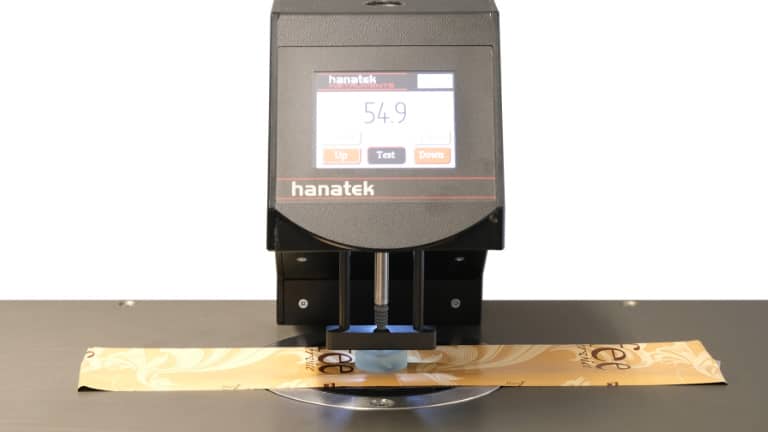
Measurement probes are factory configured according to the test standard required.
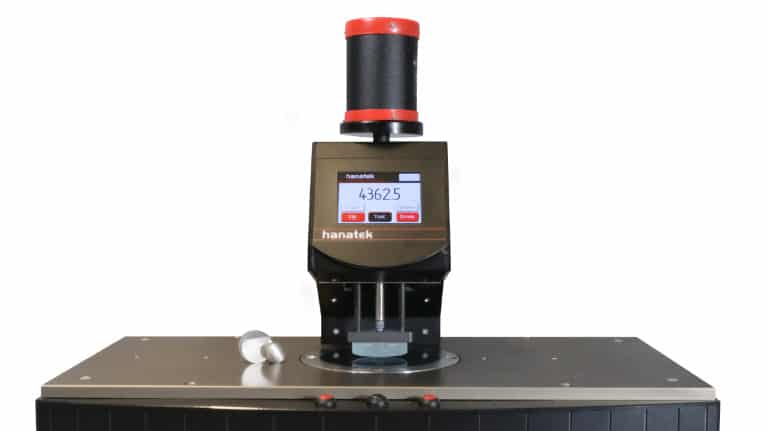
Additional weights are added to vary the pressure according to requirements from standards.
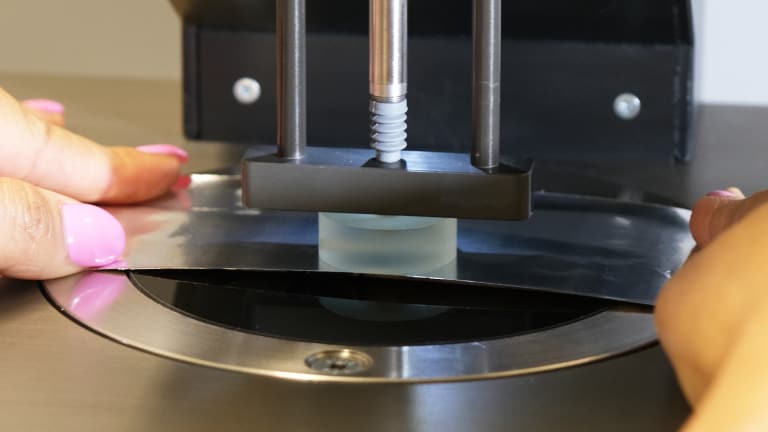
Dwell time can be varied according to application requirements
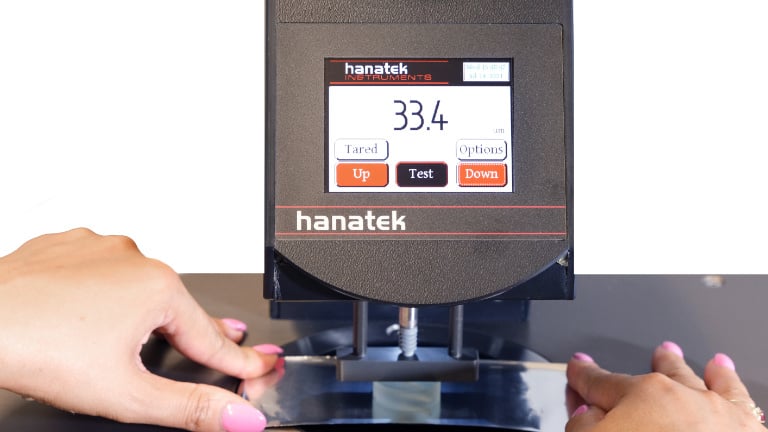
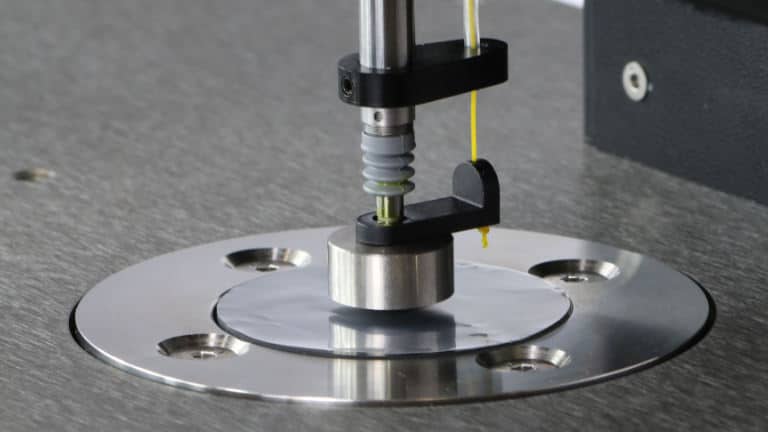
The accuracy of thickness measurement is determined by several key operating factors.
| Handheld Micrometer | Bench/Sprung Micrometer | Precision Thickness Gauge | |
|---|---|---|---|
| Measurement pressure | Variable by operator | Not always to standard | Fixed to standard or variable |
| Measurement foot | Not always to standard | Not always to standard | Fixed to relevant standard |
| Dwell time | Not controlled | Not controlled | Selected by operator |
| Measurement speed | Not controlled | Not controlled | Selected by operator |
| Programmable measurements | None | None | User select up to 500 readings |
| Statistical analysis | None | Manual/automatic | Automatic with time/date stamped printout |
| Sensor resolution | 1 μm | 1 μm | 0.1 / 0.01 μm |
| Repeatability | 2 - 10 μm | 2 - 10 μm | 0.4 μm (or better dependant on operating conditions) |
| Reproducibility | 2 - 20 μm | 2 - 10 μm | 0.8 μm (or better dependant on operating conditions) |
The Hanatek Precision Thickness Gauge (FT3) is specifically designed to quickly and accurately measure the thickness of a variety of substrates including film, paper, board, foil, tissue and textiles.


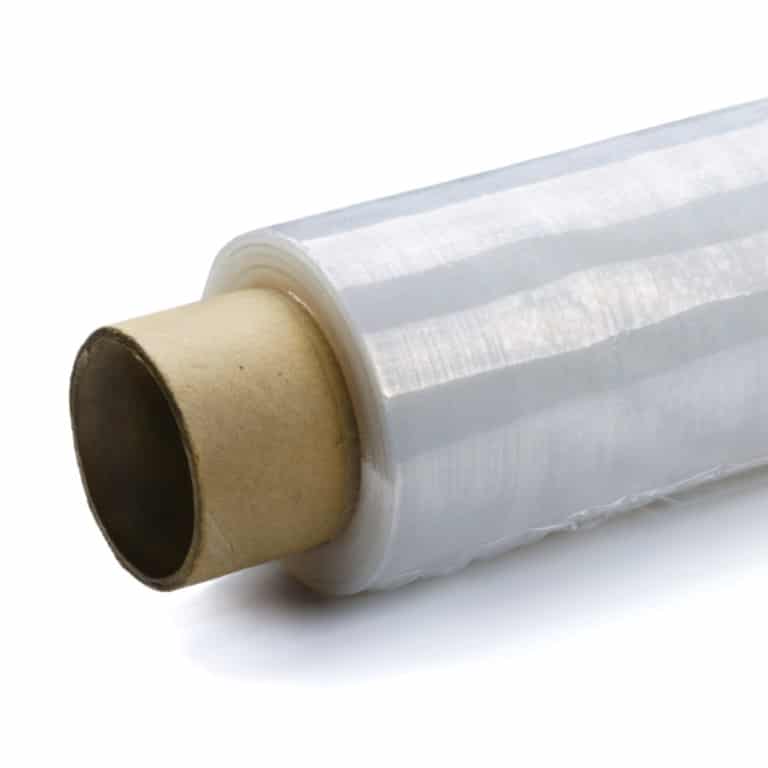
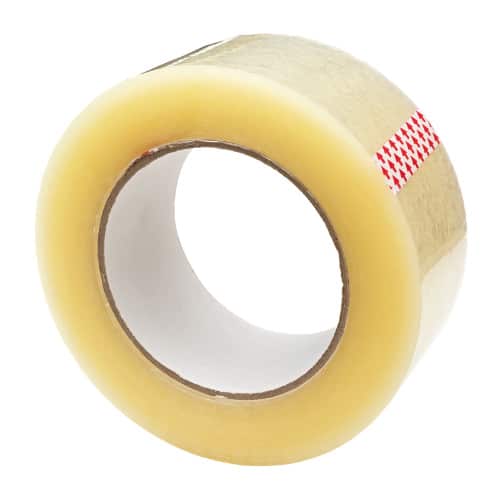



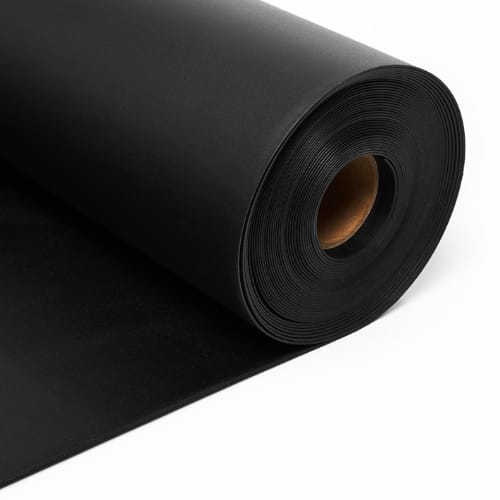


Rhopoint can configure thickness gauges to suit applications that do not have a recommended international standard.



Full statistical analysis of up to 500 readings. Maximum, minimum, mean and standard deviation.
This option is for measuring sample sets using pre-defined up and down times as well as the speed of the measurement head.
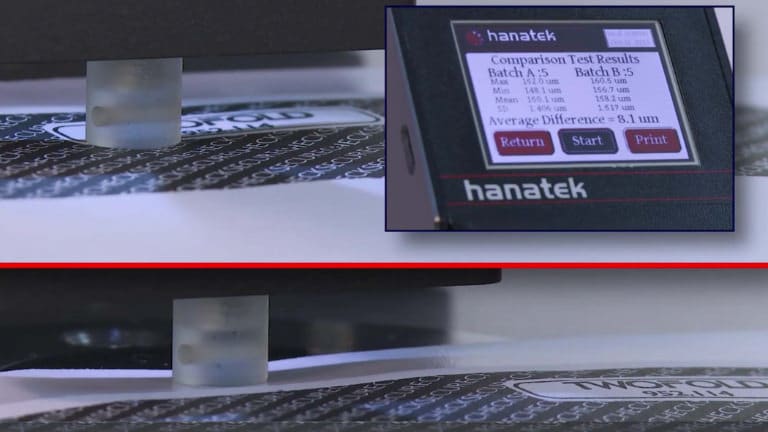
This option puts the instrument into comparative test mode. This test is used to measure the relative thickness of two materials. Two batches of readings are taken; the average thickness difference between the two values is displayed. Calculates the thickness difference between two measurement sets, used to assess the thickness of coating, adhesives or sample batches.
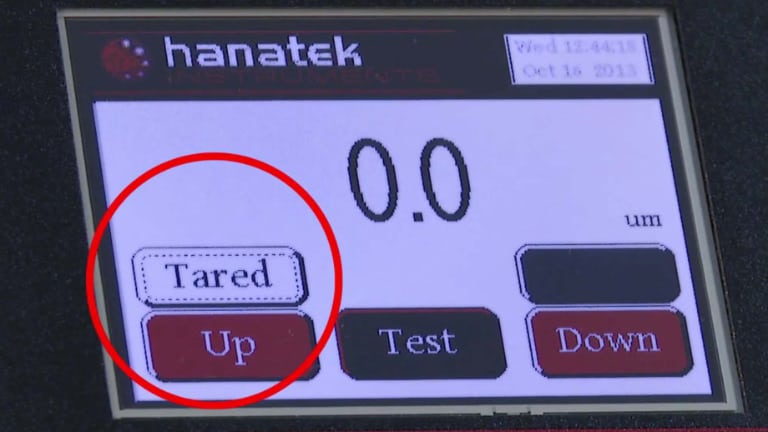
Automatically tares the instrument before each test using user defined conditions. When this option is selected, the instrument is automatically TARED before each sample set is measured. This option virtually eliminates thermo-electronic drift and thermo-mechanical errors from measurement.
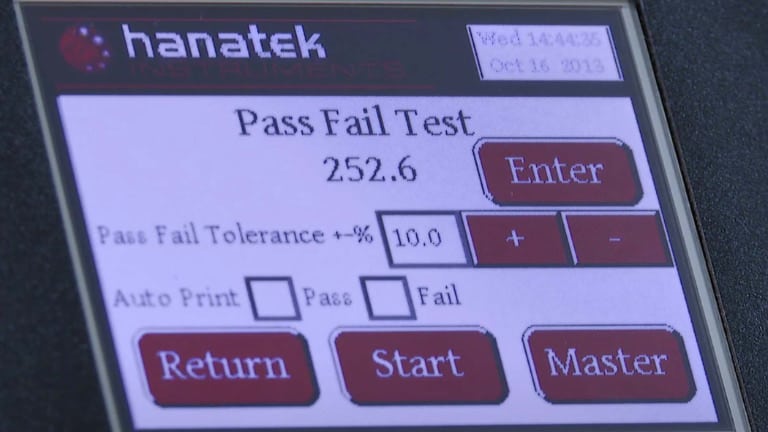
Enter the target material thickness and the allowed percentage tolerance. If the target thickness is not known, the material can be measured and assigned as the ‘master’. Subsequent measurements this can be made against this reference material.
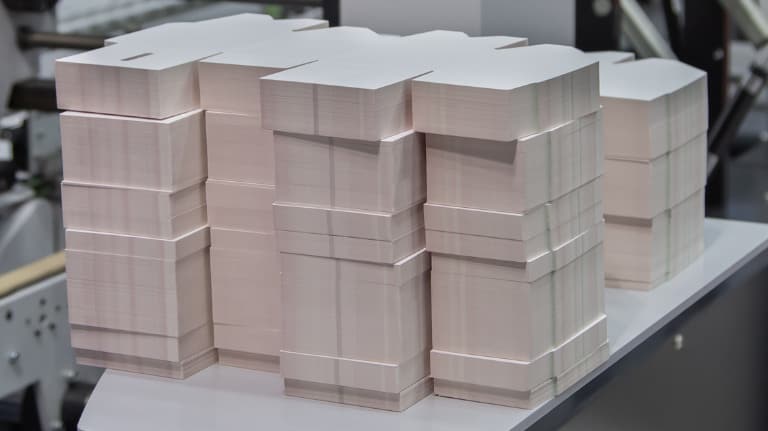
This test mode will count sheets or layers of sample as well as showing the total thickness of a stack of samples. A master count of user selectable size is measured as a reference. This value is stored and subsequent measurements will be compared to this master reading. A pass/fail option is available to reject any reading out of the desired tolerance.
Up Time: This parameter allows the user to manipulate samples between measurements (1-10s).
Speed Measurement: The speed of the measurement head is especially important when measuring deformable materials (1-5mm/s).
Dwell/Down Time: The dwell time determines the setting time of the measuring head on compressible materials (1-1s).
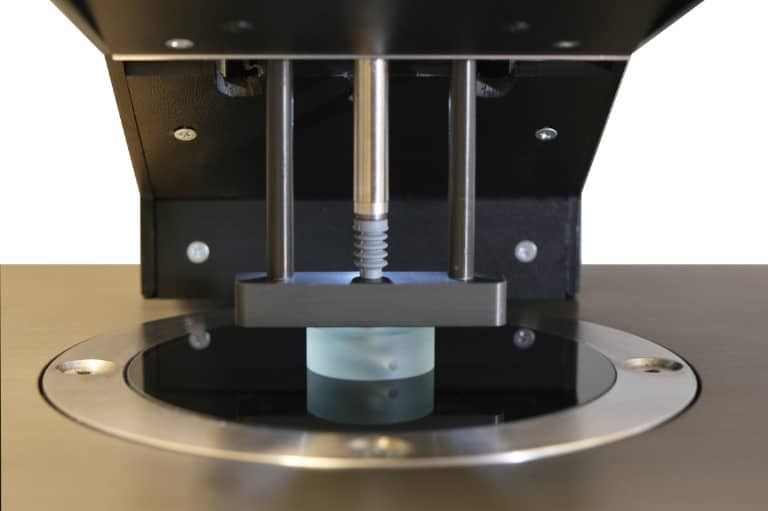
This flexible instrument can be configured for quality or research use. All operations and test methods have comprehensive graphical on-screen help.
This option allows all measured values in a test to be output to the Hanatek printer/ RS232 port.
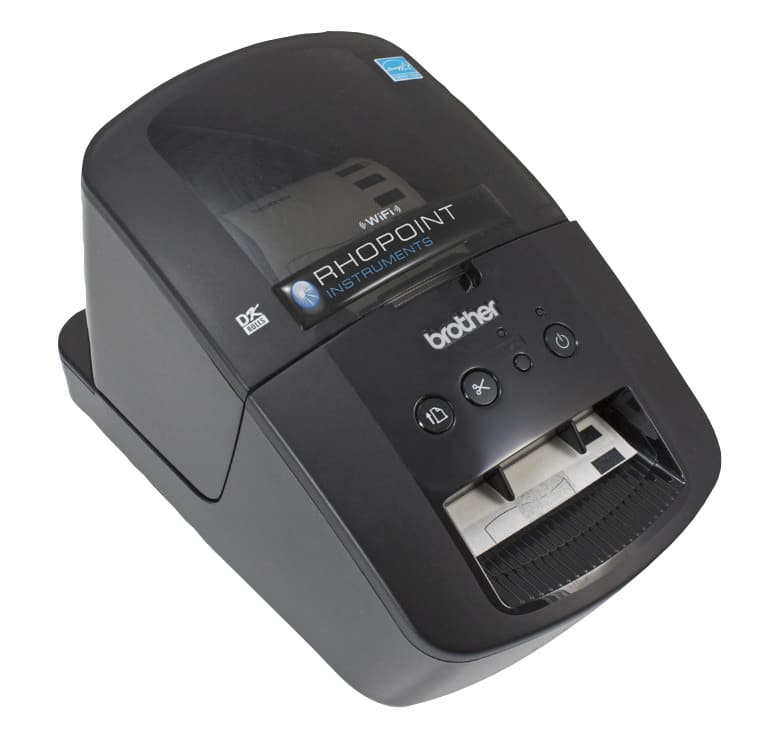
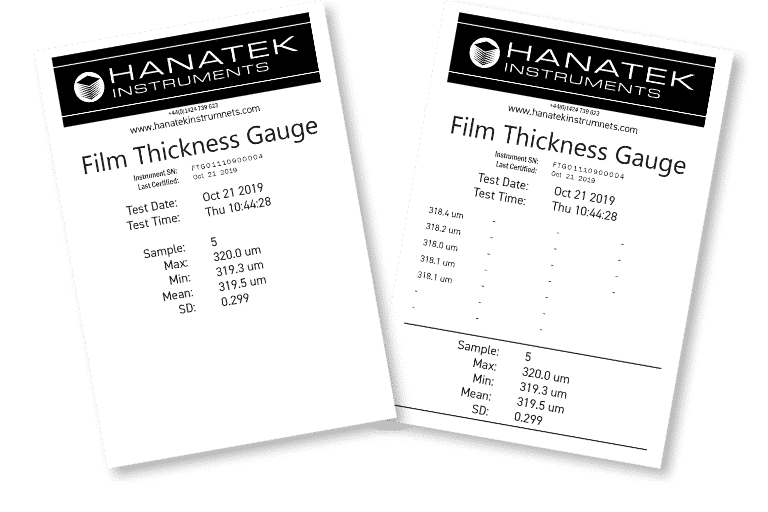
Securely time and date stamped labels with statistical results can be produced throughout a batch run and attached to job card or retained samples.
This traceable control gives the customer confidence that the whole batch of product is within specification and allows manufacturers to issue certificates
of conformance.

Each standard of compliance specifies a different pressure which is calculated by the force applied to the sample through a measuring head of a given diameter.
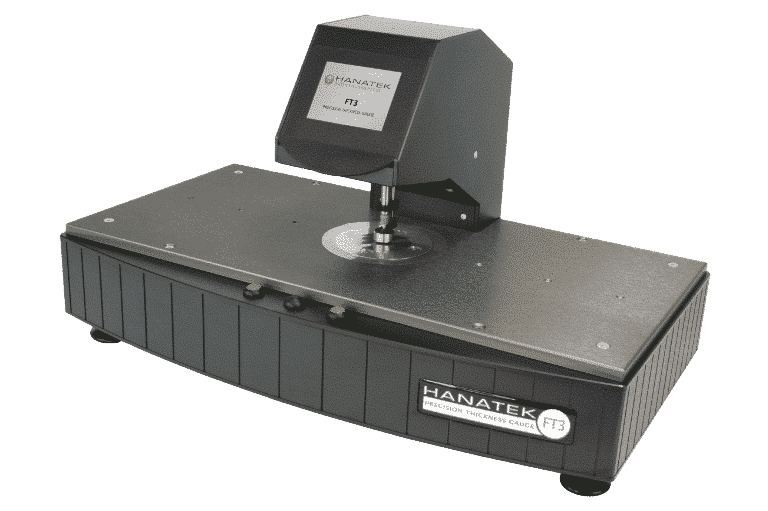
Fixed pressure, factory configured to meet a single test standard or specification of your choice.
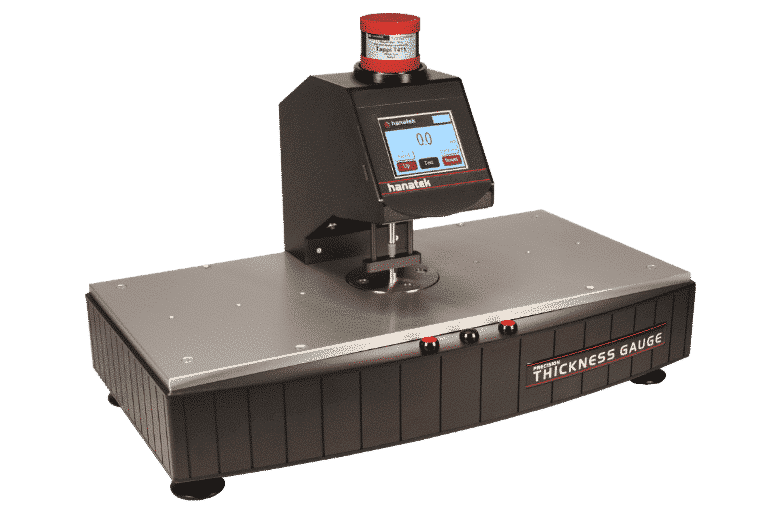
Test pressure is varied by adding external weights to the instrument platform. Factory configured measurement head size. One external weight is included to achieve compliance to a second measurement standard or assess material compressibility.
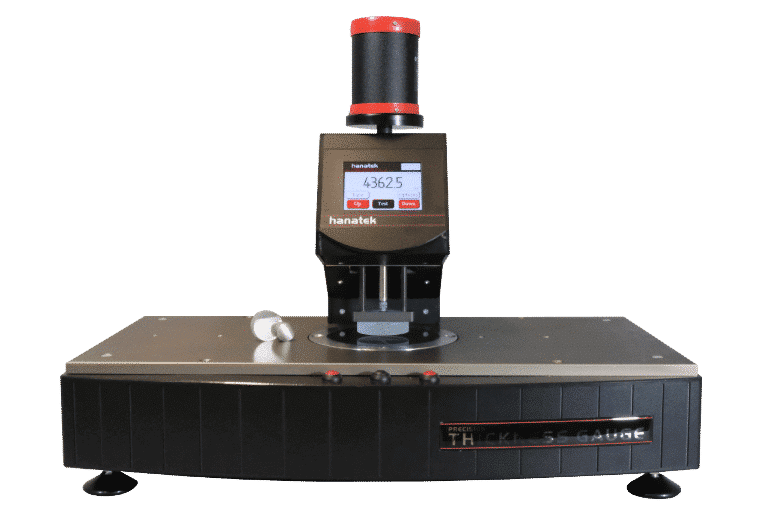
Test pressure is varied by adding extra weights to the instrument platform or changing the size of the measurement head.
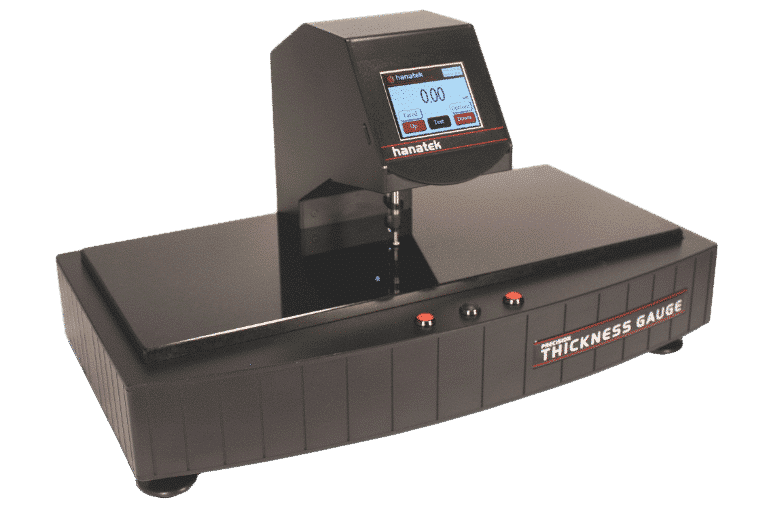
Fixed pressure configured to meet a single test standard or specification.
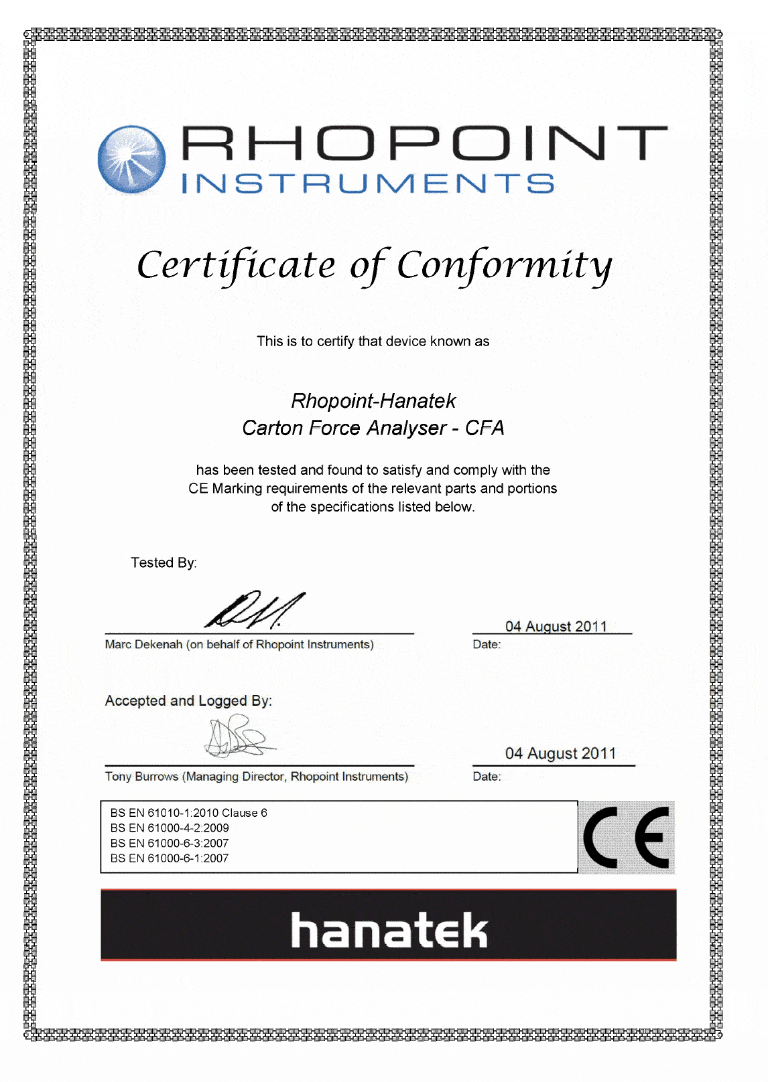
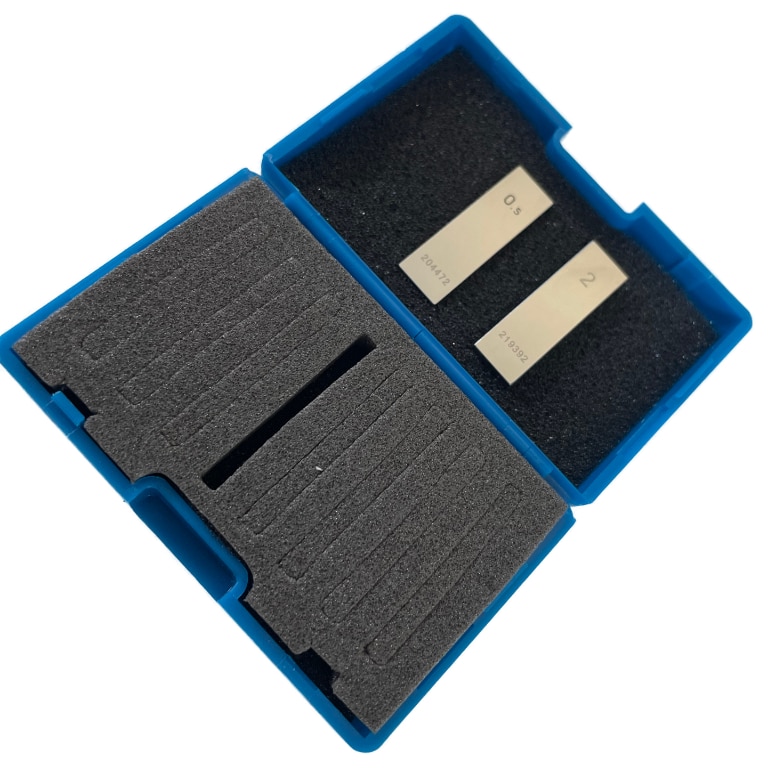
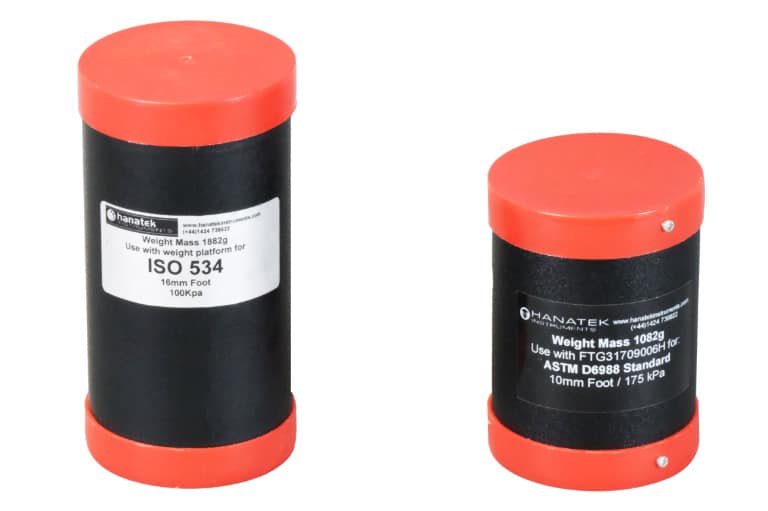
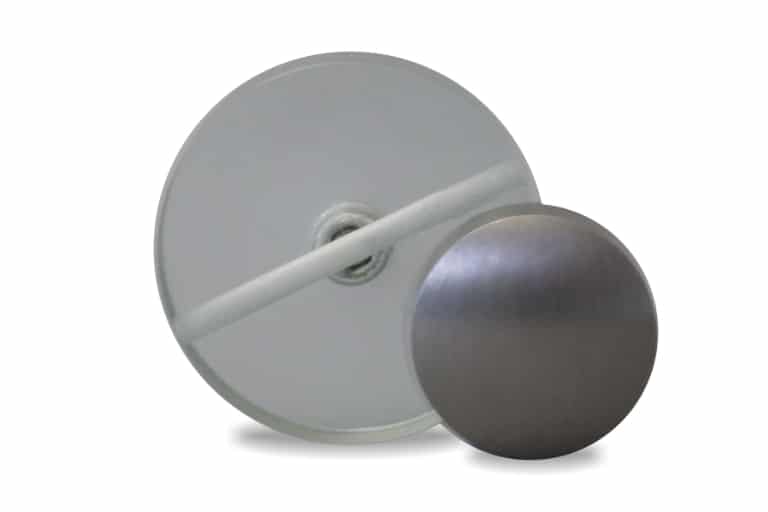
| Included Accessories | UKAS traceable calibration certificate | Traceable 2000μm and 500μm checking gauges | Additional Weights | Additional Measurement Head |
|---|---|---|---|---|
| FT3: Standard Instrument | ✓ | ✓ | ✗ | ✗ |
| FT3-V: Variable Instrument | ✓ | ✓ | One weight included | ✗ |
| FT3-LAB: Laboratory Instrument | ✓ | ✓ | One weight included | One head included |
| FT3-U: Ultra High Precision Instrument | ✓ | ✓ | ✗ | ✗ |

| Product | Standard | Application | Details | Order Code |
|---|---|---|---|---|
| FT3-Standard | ISO 3034 | Carton Board | Board thickness | HAN-A8041-ISO3034 |
| FT3-Standard | ASTM D5199 | Geomembrane | Geomembranes thickness | HAN-A8041-ASTMD5199 |
| FT3-Standard | ASTM6988 | Film | Thickness of plastic film standard pressure | HAN-A8041-ASTMD6988/STD |
| FT3-Standard | ASTM6988 | Film | Thickness of plastic film | HAN-A8041-ASTMD6988 |
| FT3-Standard | ISO 4593 / BS2782 | Film | PART B Plastic film thickness | HAN-A8041-ISO4593/BS2782-6 |
| FT3-Standard | ASTM6988 | Film | Thickness of plastic film, low pressure (films <25 μm) | HAN-A8041-ASTMD6988/LOW |
| FT3-Standard | ASTM F2251 | Flexible Packaging | Flexible packaging thickness | HAN-A8041-ASTMF2251 |
| FT3-Standard | EN428 | Flooring | Resilient floor coverings thickness composition cork | HAN-A8041-EN428/11.3MM |
| FT3-Standard | EN428 | Flooring | Resilient floor coverings thickness at least 1 non solid layer | HAN-A8041-EN428/25.3MM |
| FT3-Standard | EN428 | Flooring | Resilient floor coverings thickness Rubber and other relief materials | HAN-A8041-EN428/50MM |
| FT3-Standard | EN428 | Flooring | Resilient floor coverings thickness Solid throughout | HAN-A8041-EN428/8MM |
| FT3-Standard | ISO 9073-2/EDANA | Nonwoven | Nonwoven thickness | HAN-A8041-ISO9073/2 |
| FT3-Standard | ISO 534 | Paper, Carton Board | Thickness of paper and board | HAN-A8041-ISO534 |
| FT3-Standard | TAPPI T411 | Paper, Carton Board | Thickness of paper and board | HAN-A8041-TAPPIT411 |
| FT3-Standard | TAPPIT411+ISO534 | Paper, Carton Board | Thickness of paper and board | HAN-A8041-TAPPIT411+ISO534 |
| FT3-Standard | ASTM 3652 | Tape | Standard test method for thickness of pressure sensitive tapes | HAN-A8041-ASTM3652 |
| FT3-Standard | DIN EN1942 | Tape | Self-adhesive tape thickness | HAN-A8041-DINEN1942 |
| FT3-Standard | ASTM D1777 Part 1 | Textile | Woven, knitted and textured fabrics | HAN-A8041-ASTMD1777/1 |
| FT3-Standard | ASTM D1777 Part 2 | Textile | Coated fabrics, narrow fabrics, webbing, tapes, ribbons, braids | HAN-A8041-ASTMD1777/2 |
| FT3-Standard | ASTM D1777 Part 3 | Textile | Films, glass cloths, glass tapes thickness | HAN-A8041-ASTMD1777/3 |
| FT3-Standard | ASTM D1777 Part 4 | Textile | Glass fibre mat | HAN-A8041-ASTMD1777/4 |
| FT3-Standard | ASTM D1777 Part 5 | Textile | Blankets, pile fabrics, napped fabrics thickness | HAN-A8041-ASTMD1777/5 |
| FT3-Standard | ISO 2589 | Textile | Thickness of leather | HAN-A8041-ISO2589 |
| FT3-Standard | ISO 5084 | Textile | Thickness of textile | HAN-A8041-ISO5084 |
| FT3-Standard | ISO 12625 | Tissue | Tissue thickness | HAN-A8041-ISO12625 |
| FT3-V | TAPPI T411/ISO 534 | Paper, Carton Board | Thickness of paper and board | HAN-A8041-TAPPIT411+ISO534 |
| FT3-V | ASTMD6988 (both parts) | Film | Thickness of plastic film | HAN-A8041-ASTMD6988 |
| FT3-V | ASTMD1777 Part 1 & 5 | Textile | Thickness of textile | HAN-A8041-ASTMD1777/1+5 |
| FT3V-LAB | Multiple | Interchangeable measuring heads, variable downforce, includes 2 measuring heads, 2 weights and recalibration kit | HAN-A8041 P THICK L | |
| FT3-U | Multiple | Precision Thickness Gauge, Fixed Downforce, 21.56rad Domed Measuring Head, 0.01μm | HAN-A8041 P THICK U |
| Other Order Codes | ||
|---|---|---|
| Printer | HAN-B-PRINTER/2 | |
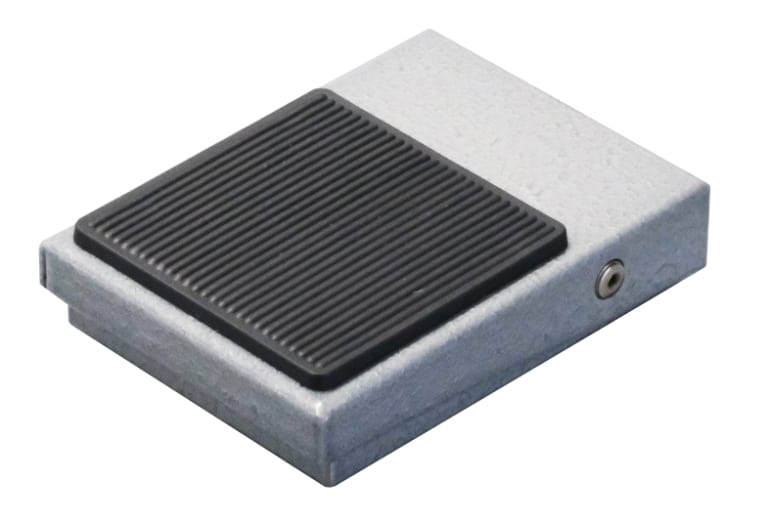
| Footswitch | HAN-B8041-FOOTSWITCH | |
| Instrument Specification | ||
|---|---|---|
| Resolution | 0.1 μm (0.01 μm on FT3-U) | |
| Repeatability | Better than 0.4 μm* | |
| Reproducibility | Better than 0.8 μm* | |
| Measurement Range | 0 – 4000 μm | |
| Output | RS232 | |
| Power | 110/240V 50/60Hz | |
| *Dependant on operating conditions and configuration of instrument | ||
| Dimension & Weights | ||
|---|---|---|
| Size (Standard) | 320mm (H) x 543mm (W) x 300mm (D) | |
| Size (Small base) | 320mm (H) x 350mm (W) x 242mm (D) | |
| Net Weight | 10kg (max) | |
| Packed dimensions (standard base) | 550mm (H) x 620mm (W) x 430mm (D) | |
| Packed dimensions (small base) | 500mm (H) x 410mm (W) x 430mm (D) | |
| Commodity Code | 9024 8019 | |
| Standard Measurement Heads for FT3, FT3-V & FT3-U | ||
|---|---|---|
| Ball | 3mm radius | |
| Domed | 25.5mm radius | |
| Flat | 6 / 6.35 / 8 / 10 / 11.3 / 16 / 25.3 / 28.7 / 35.7 / 50.5mm diameter** | |
| **Non standard heads between 6 and 50mm diameter are available on request | ||
| Test Masses | ||
|---|---|---|
| FT3 Standard | 50g - 2000g | |
| FT3-V | 100g - 4000g | |
| FT3-U | 50g - 500g | |
| FT3V-LAB | 100g - 4000g | |
Free extended 2 year warranty: Requires registration at www.rhopointinstruments.com/help-services/forms-feedback/instrument-registration/ within 28 days of purchase. Without registration, 1 year standard warranty applies.
Fast and economic service via our global network of accredited calibration and service centres. Please visit www.rhopointinstruments.com/help-services/calibration-servicing/ for detailed information.
Gloss is an aspect of the visual perception of objects that is as important as colour when considering the psychological impact of products on a
High Gloss >70 GU If measurement exceeds 70 GU at 60°, change test setup to 20° Medium Gloss 10 – 70 GU Low Gloss
RSpec is the peak reflectance measured over a very narrow angular band in the specular direction (+/-) 0.0991º. RSpec is very sensitive to any texture
Please note, this is NOT a quotation, just a confirmation of the price when purchased in the UK exclusive of VAT/duties