Why measure gloss?
Gloss is an aspect of the visual perception of objects that is as important as colour when considering the psychological impact of products on a
$5,145
Manufactured by Rhopoint since 1997, the Novo-Curve is the industry standard
instrument for measuring the gloss of curved and small parts which cannot be measured
with standard hand held units.
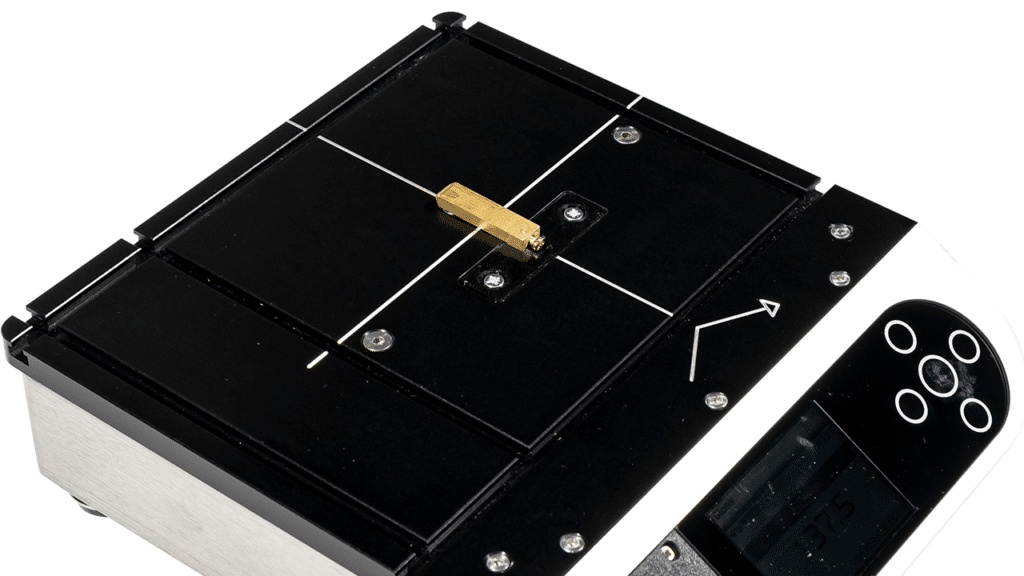
The Novo-Curve 4 is a unique instrument with specially designed optics for accurately measuring the gloss at
60° of curved surfaces and small areas. Multiple options exist to increase the repeatibility of gloss measurement
of irregular sample shape. Moveable jigging posts ensure cylindrical objects can be positioned correctly and
measured in the same place each time.
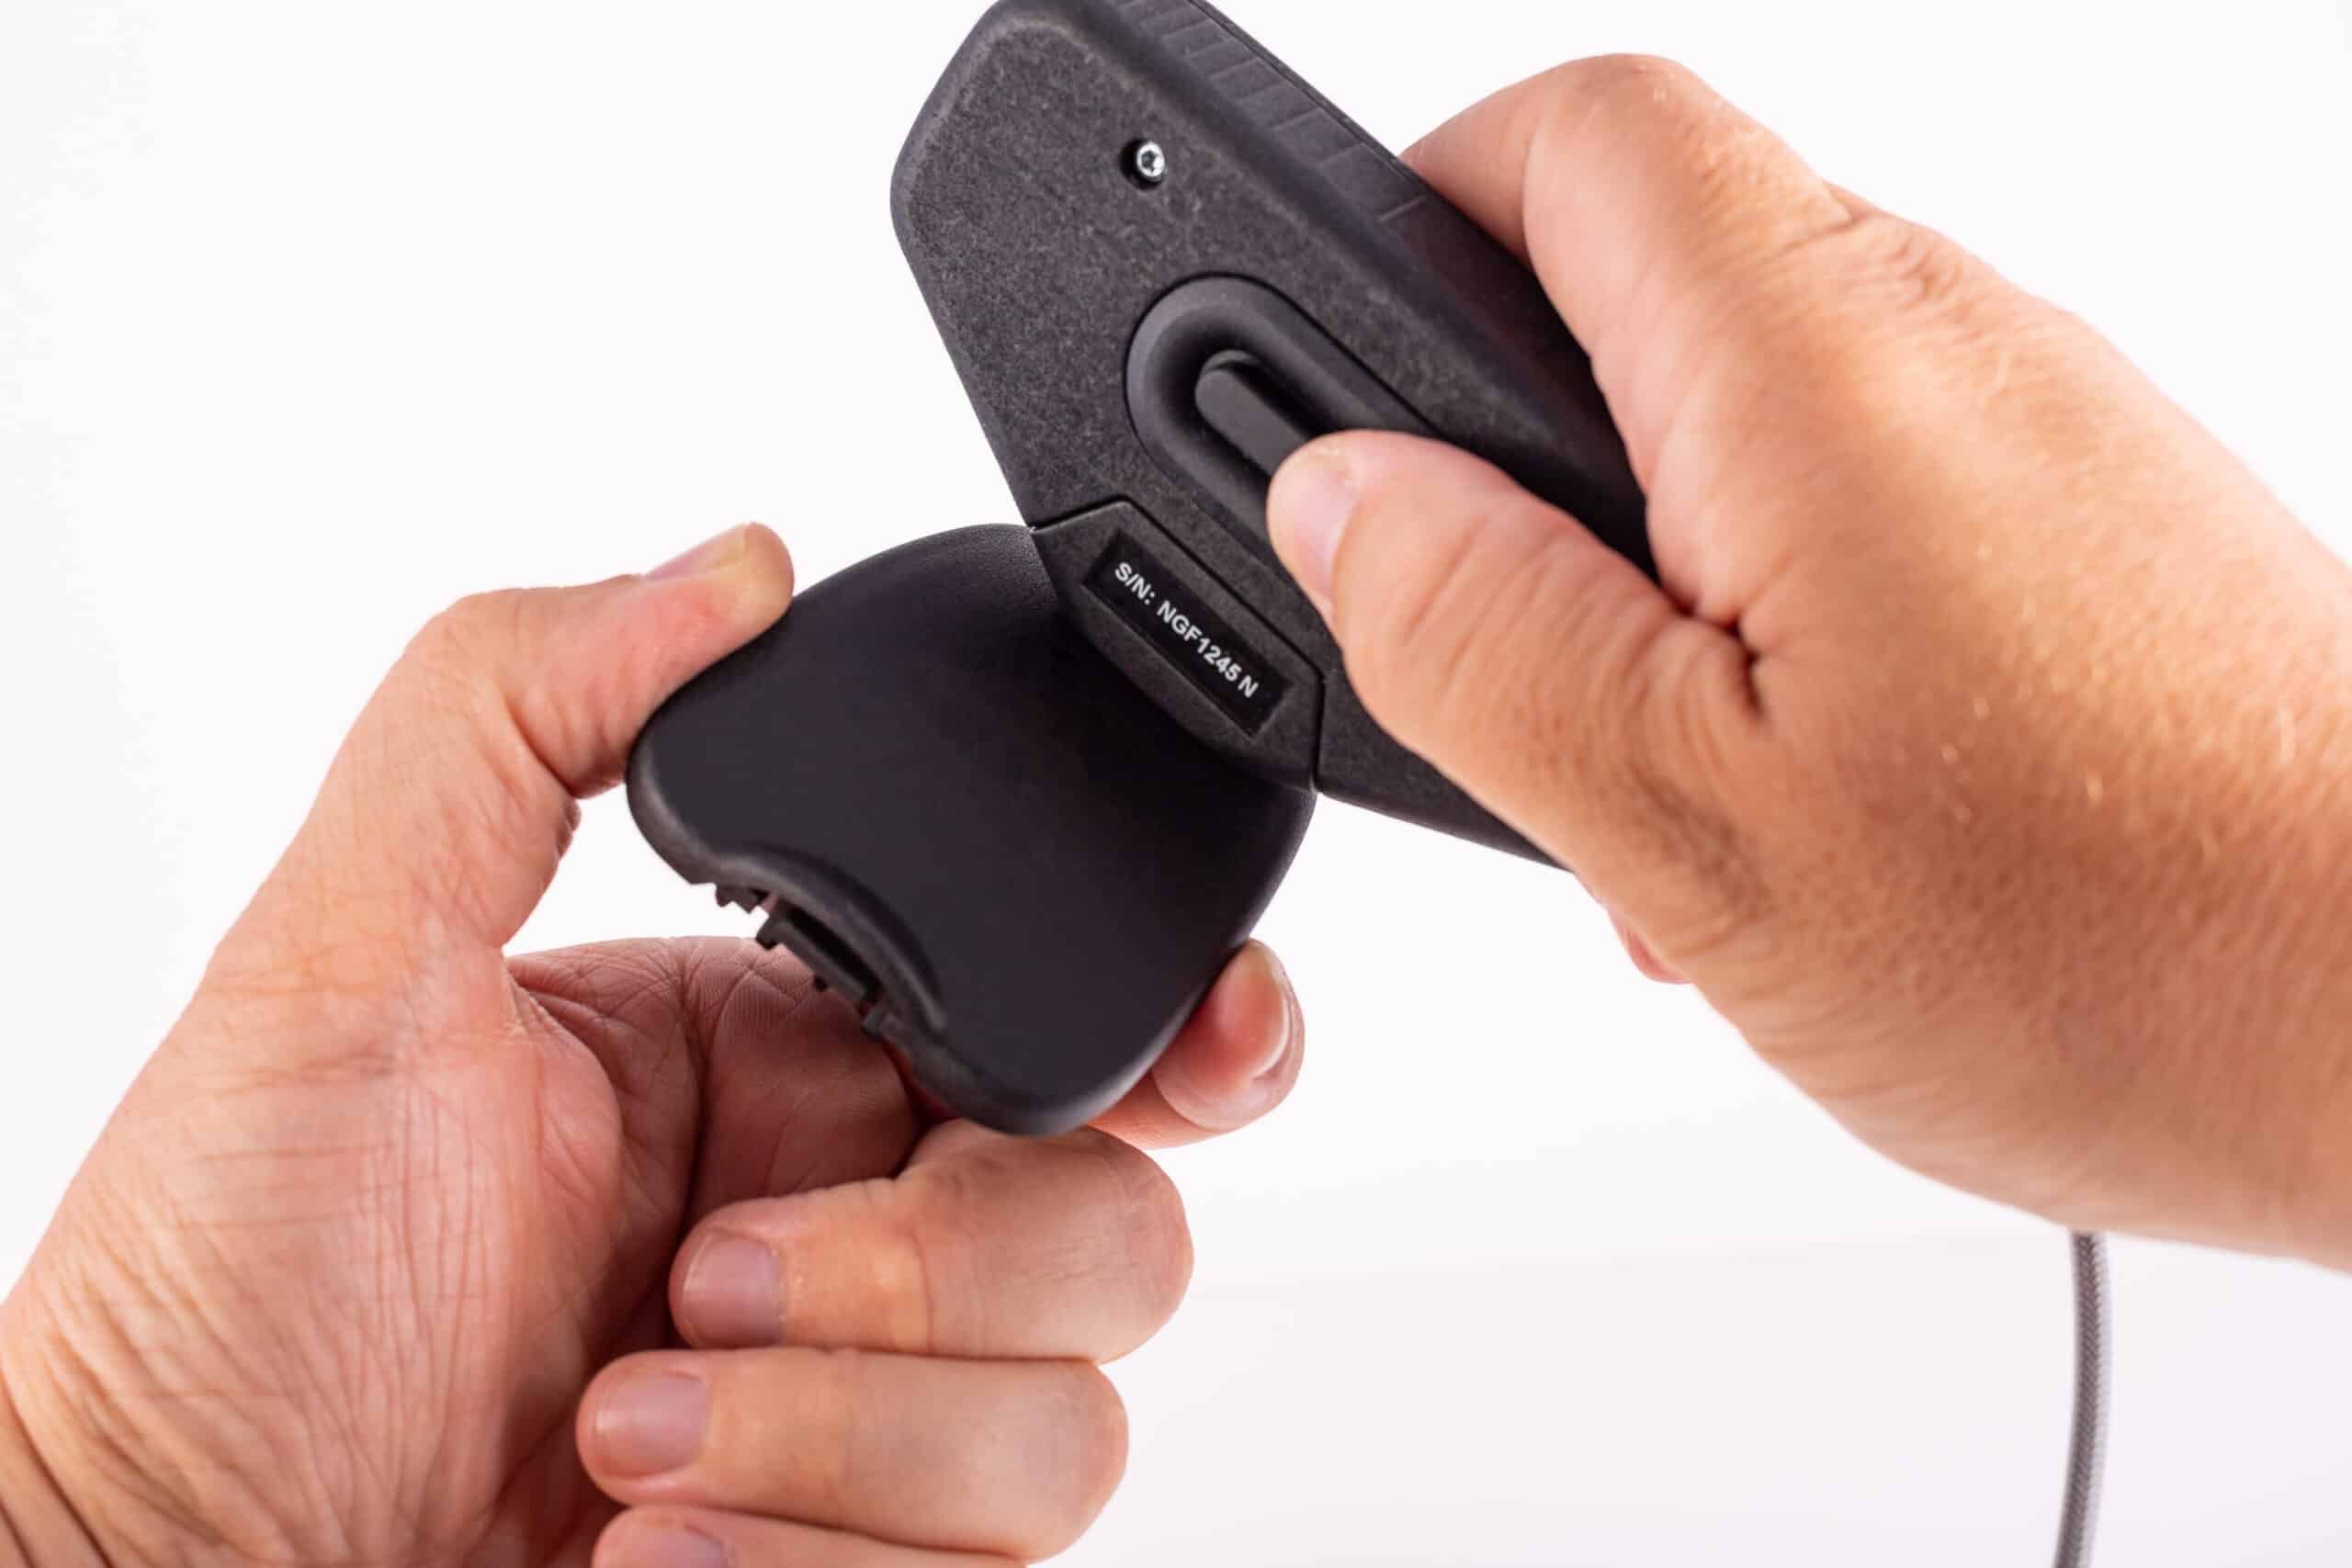
The Novo-Gloss Flex 60 has been designed
specifically to measure low gloss surfaces. It features
an additional measuring scale with a resolution
10 times greater than standard glossmeters. This
increased resolution gives a far superior level of
control of surface finish.
Previously only available for measuring flat surfaces,
this technology is now available in a new format
specifically designed for curved surfaces, as well as
small and delicate parts.
With the ability to measure the to measure the
gloss of surfaces that cannot be accessed using
traditional glossmeters, the Novo-Gloss Flex 60
Glossmeter combines the functionality and reporting
of an advanced glossmeter with an ultra-lightweight
remote measuring head.
Measured parameters:
• 60° Gloss GU
• 60° Gloss GUh
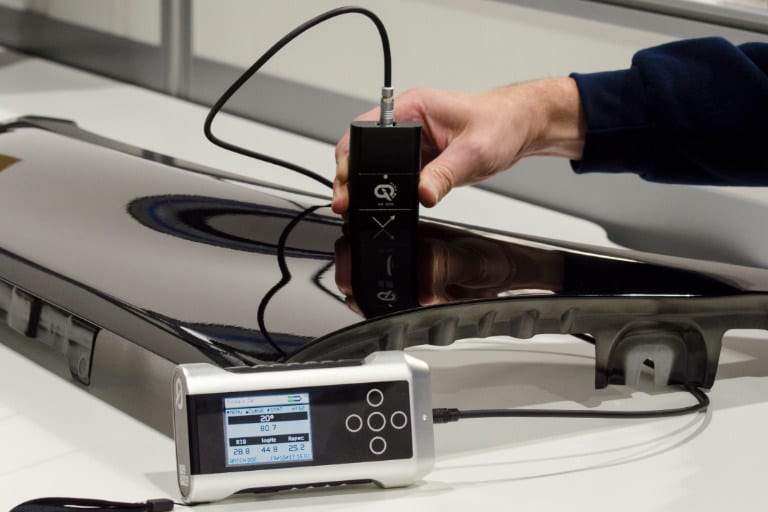
The Rhopoint IQ Flex 20 quantifies surface quality
problems such as orange peel and haze
that are invisible to a standard glossmeter. It
profiles how light is reflected from a surface.
This handheld instrument has been specifically
designed for the measurement of high gloss curved
surfaces, as well as small and delicate parts.
Flex 20 gloss measurements are fully compatible
with existing Rhopoint IQ results.
Measured parameters:
• 20° Gloss
• Reflectance haze
• Reflected Image Quality (RIQ)
• Distinctness of Image (DOI)
• Goniophotometric curves
• RSPEC (peak specular reflectance)
| Novo-Curve 4 | Novo-Gloss Flex 60 | Rhopoint IQ Flex 20 | |
|---|---|---|---|
| Measures curved surfaces | ✔ | ✔ | ✔ |
| Measures small surfaces | ✔ | ✔ | ✔ |
| Measures hard-to-reach surfaces | ✔ | ✔ | |
| Designed for very low gloss finishes | ✔ | ||
| Designed for very high gloss finishes | ✔ | ||
| Suitable for mirror finishes | ✔ | ✔ | |
| Custom adaptor jigs available | ✔ | ✔ | ✔ |
| Benchtop instrument | ✔ | ||
| Handheld instrument | ✔ | ✔ | |
| Measures DOI (orange peel) and haze | ✔ |
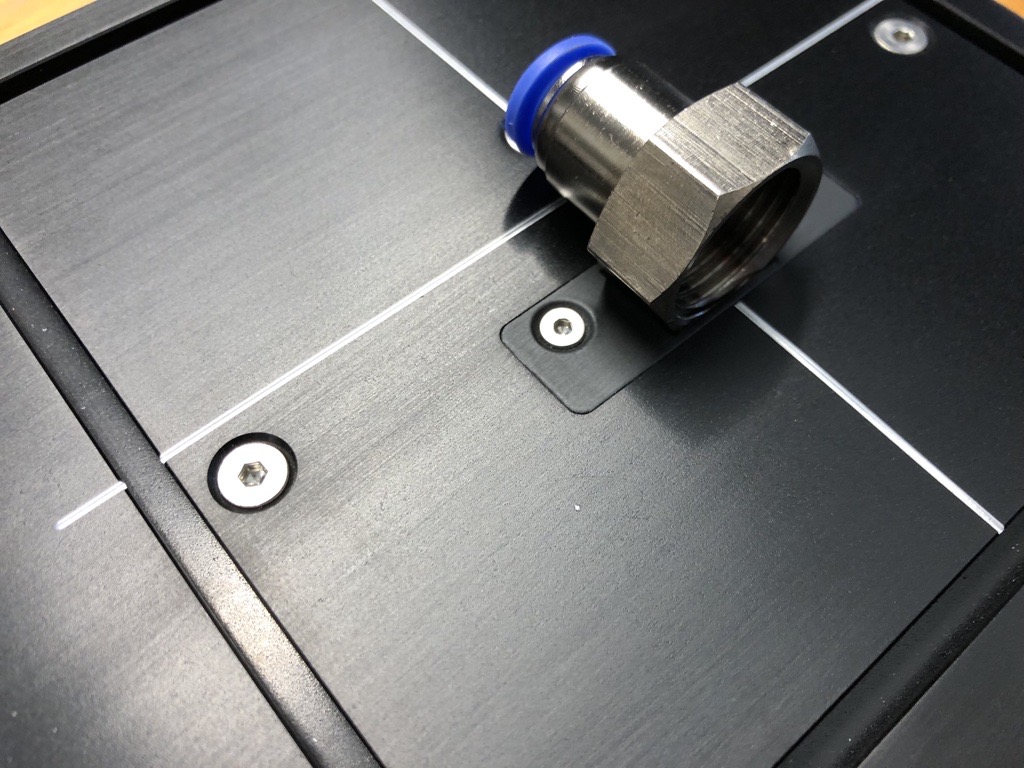
Custom Small Part Adaptor System
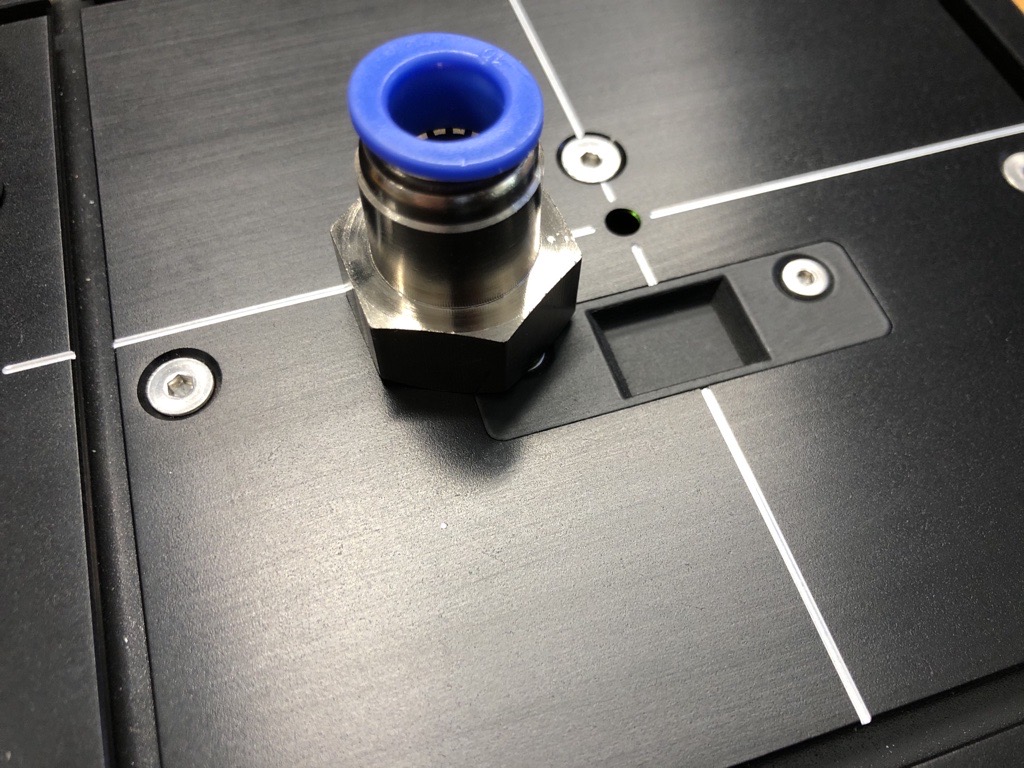
The New Novo-Curve 4 includes an indented
platen to accept complex parts which could not
be measured on the previous instrument.
The indented platen also accepts 3D printed jigs
to allow accurate placement of small switches,
decals or irregular shapes.
Contact our experienced applications team who can advise on the best way to measure small parts curved
surfaces or difficult to measure areas- we also design and supply 3D printed adaptors and jigs bespoke for many
applications.
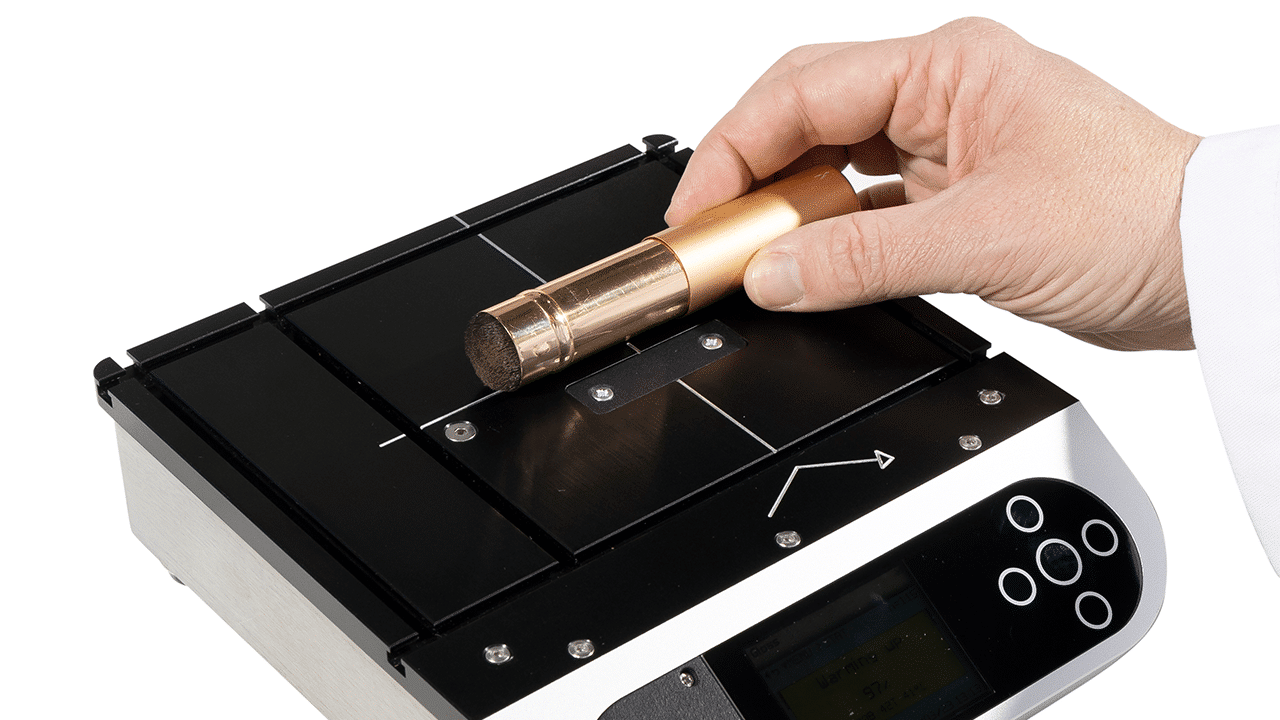
For curved surfaces, the correct gloss value is the peak value identified on the sample. Continuous read mode on the Novo-Curve 4 greatly simplifies this process.
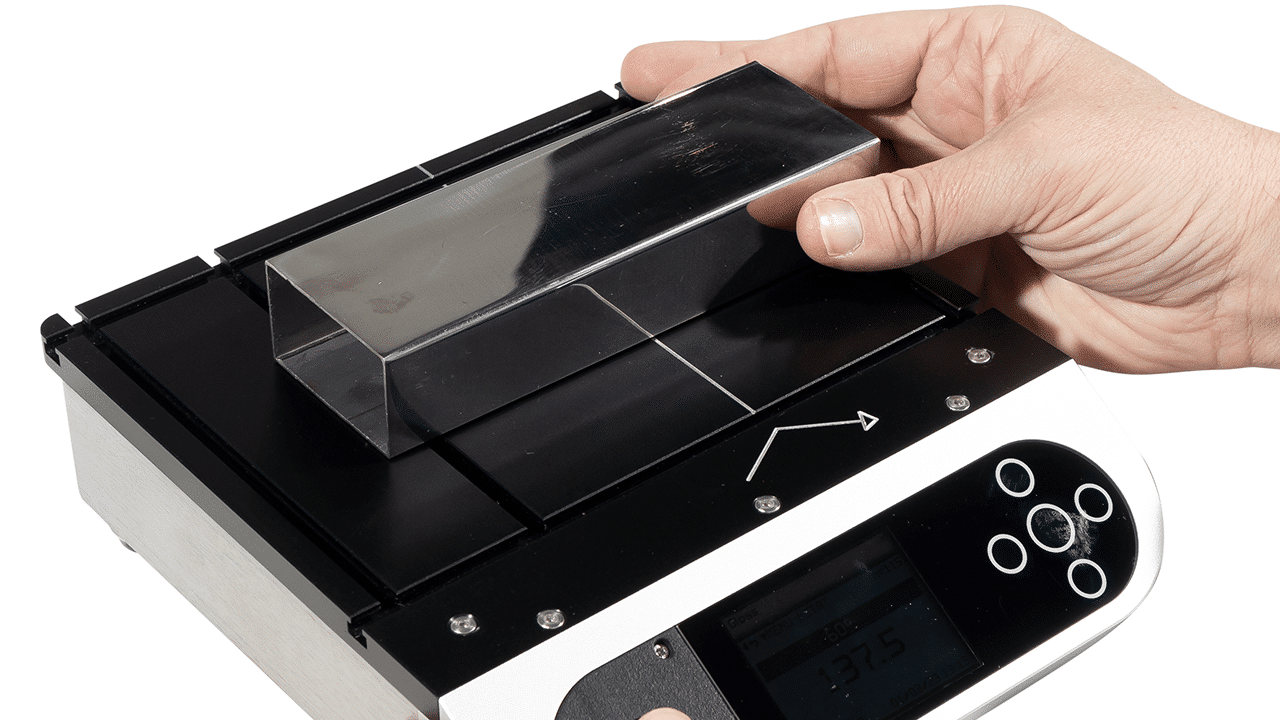
For improved gloss control, calibrate on a standard that matches closest to your sample. Additional standards are available from matt to mirror finish.
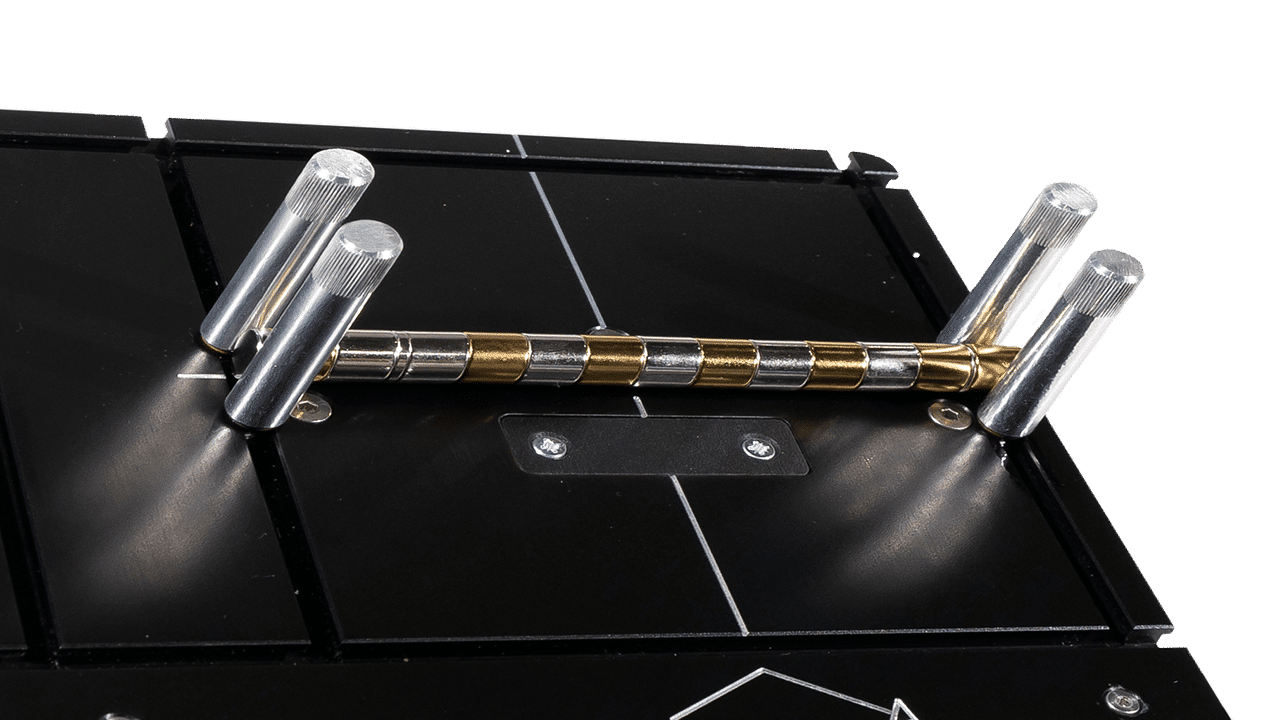
Bespoke sample securing systems allow multiple
samples to be measured in exactly the same place*.
*Requires additional accessory
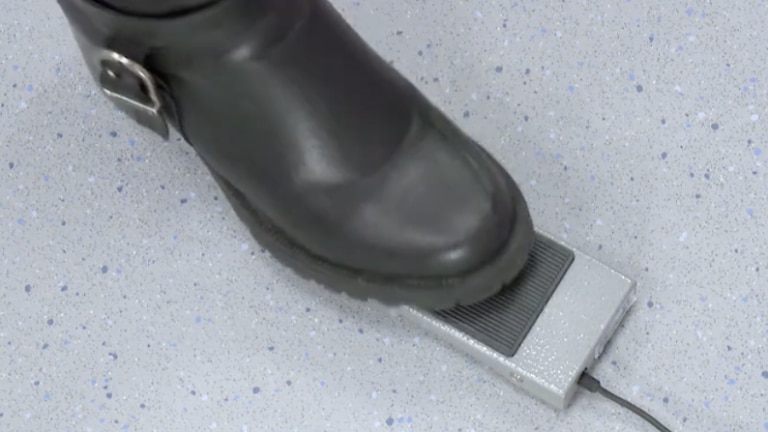
The optional footswitch enables the user to easily manipulate the sample for measurement
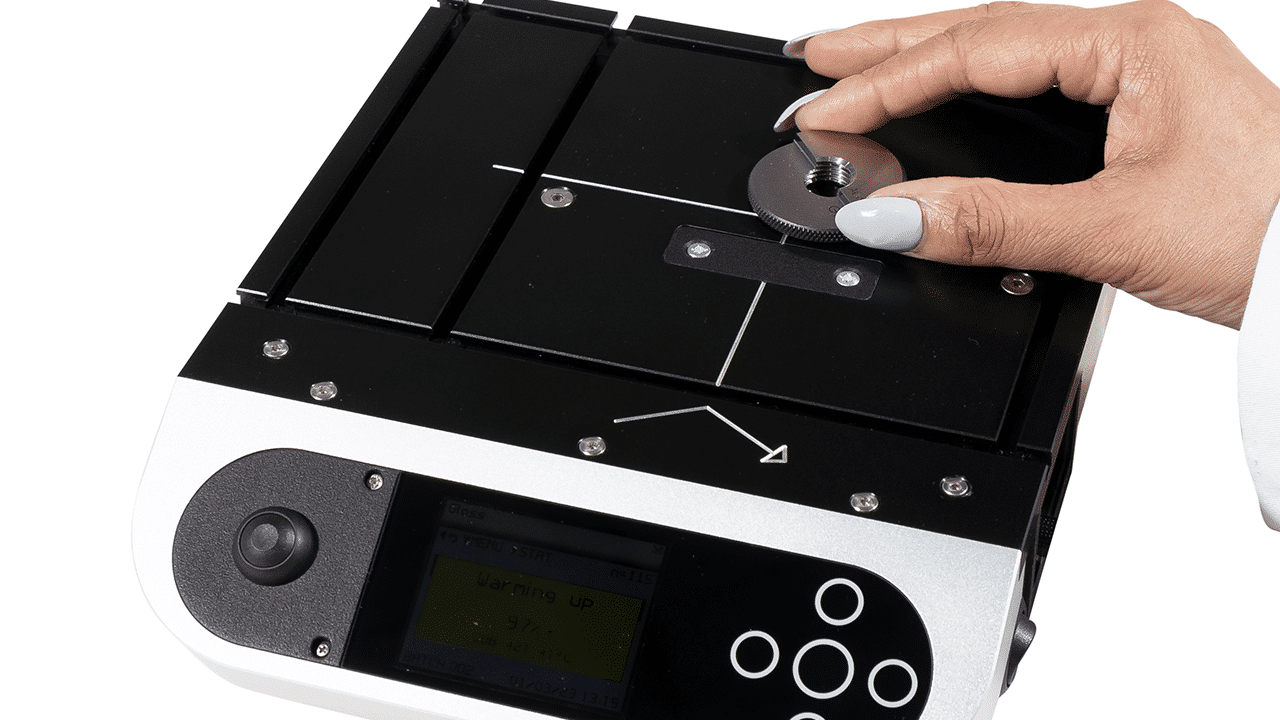
Measure samples too small to be measured with a standard glossmeter
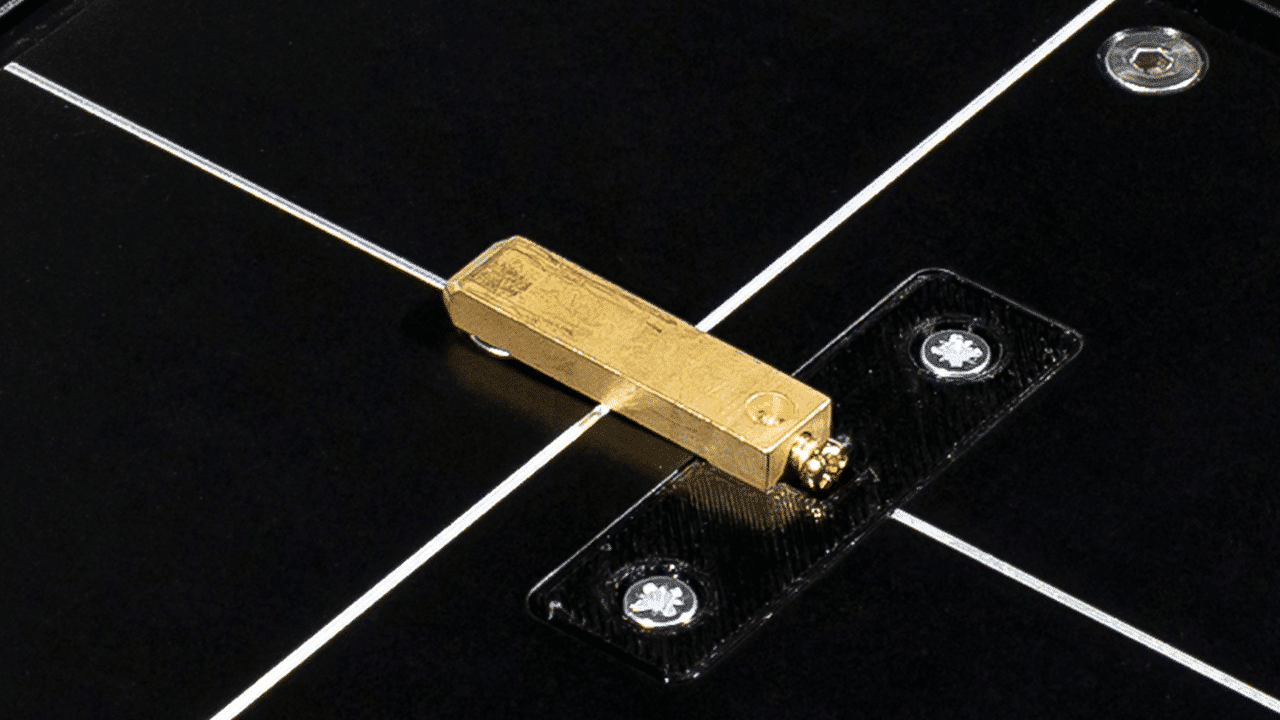
For an exact fit for small complex shapes, a custom cutout enables the sample to measured in exactly the same spot each time
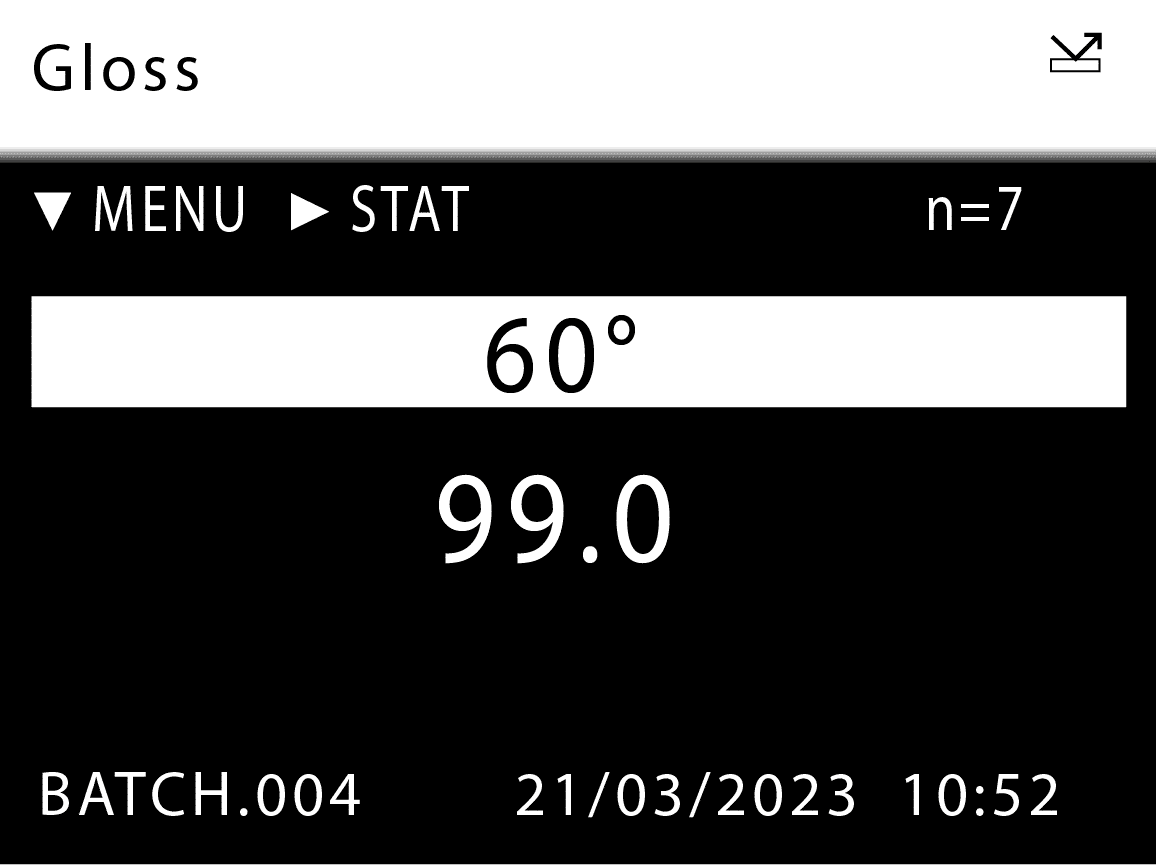
Simultaneous measurement of all parameters in GU or % reflectivity, date and time stamped.
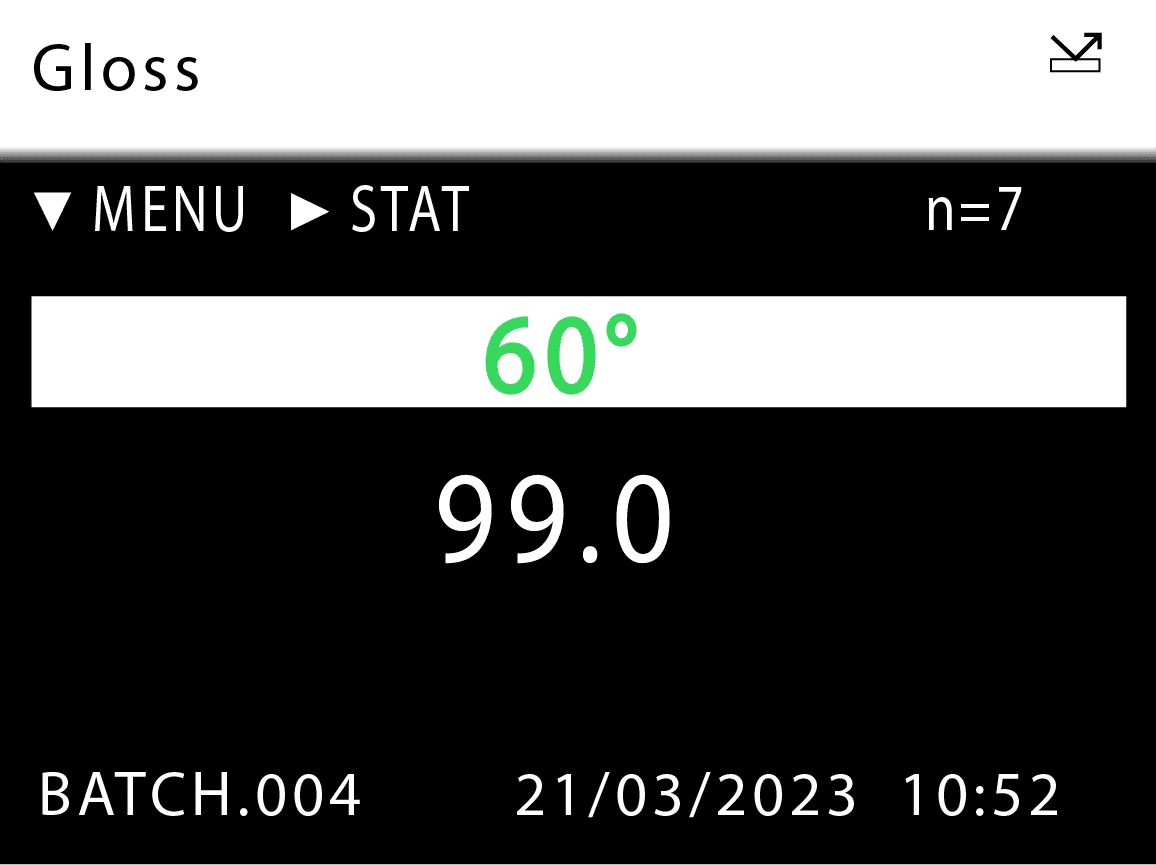
Pass / fail parameters can be defined for instant identification of non-conformances.
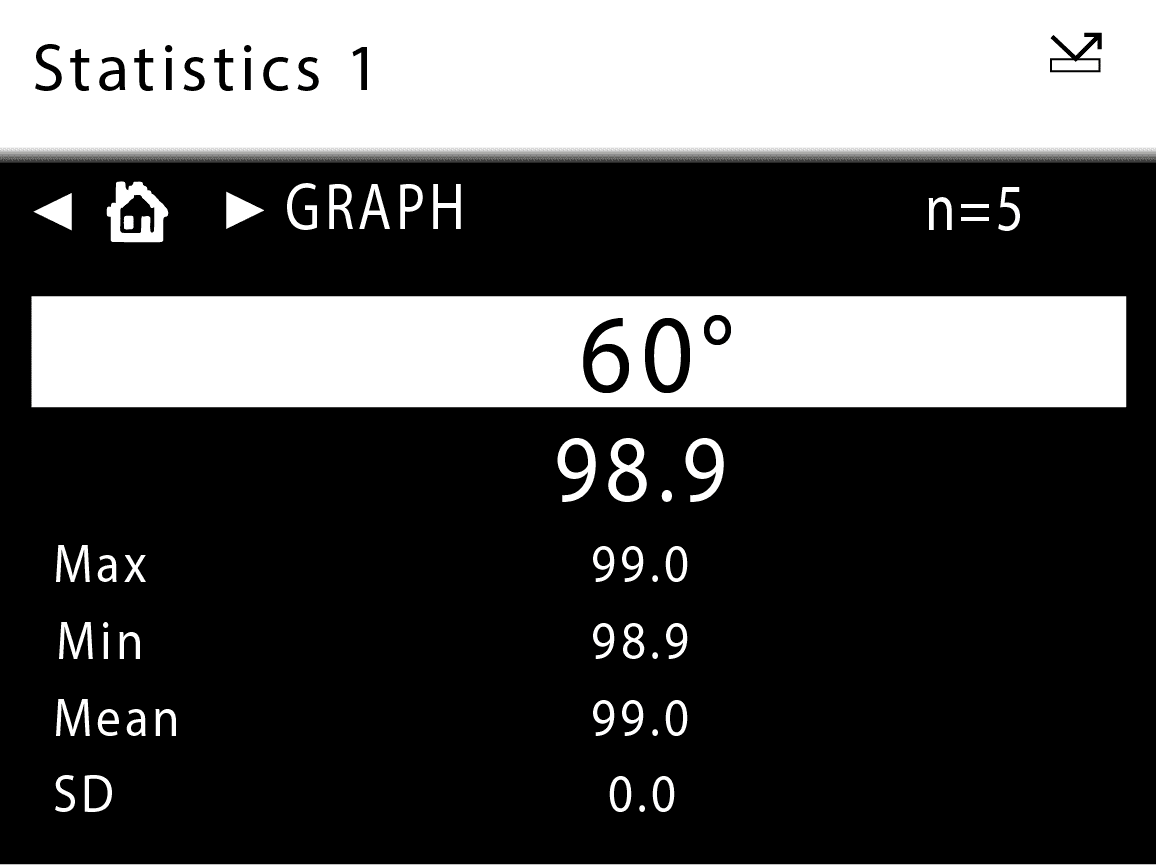
Displays full statistics for the readings in the current batch.
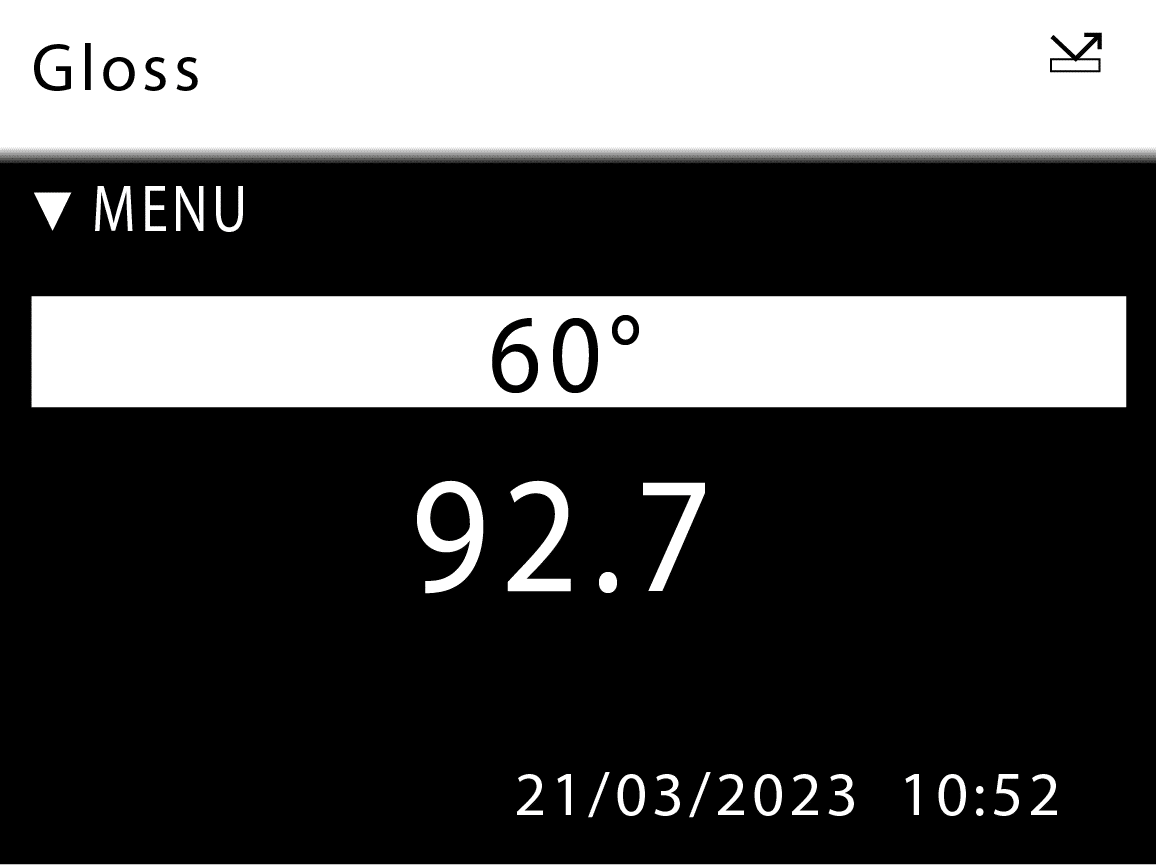
Automatic measurements at pre-defined intervals for easy checking of large surface areas.
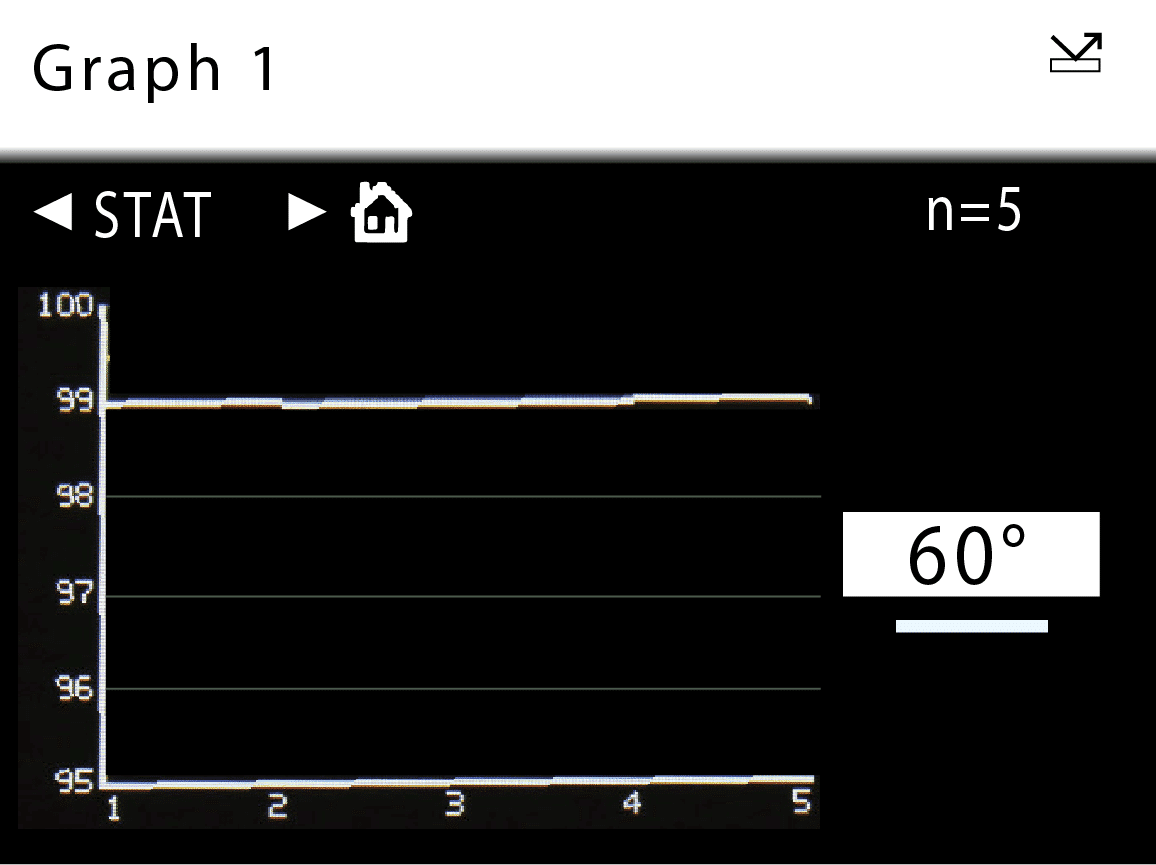
Graphical reporting for quick trend analysis.
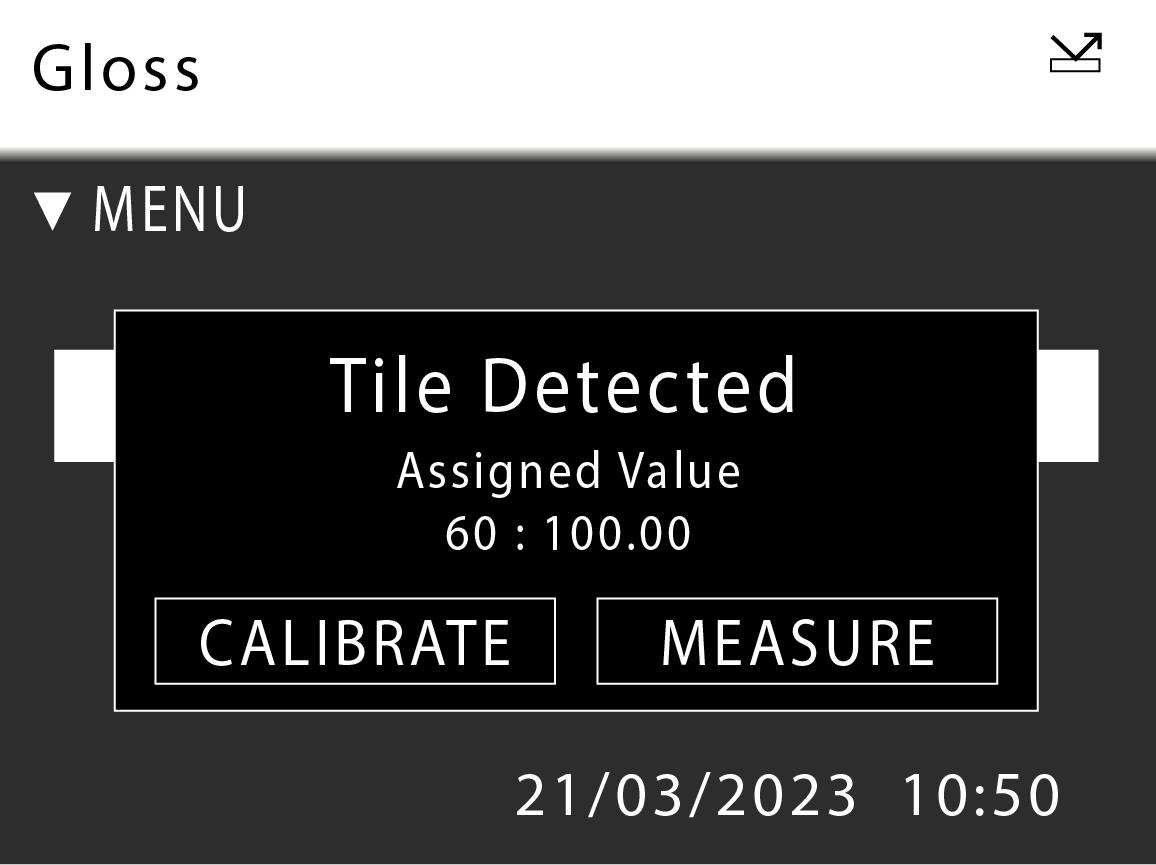
For faster calibration, the instrument automatically detects when the calibration standard is attached to the instrument.
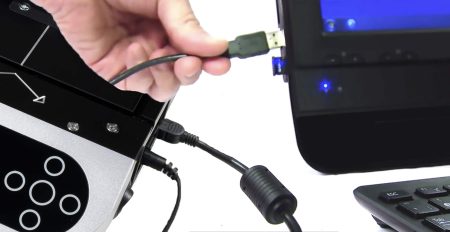
USB connection to PC instantly recognises the device as a drive location which facilitates the quick transfer of CSV files using Windows Explorer or similar.
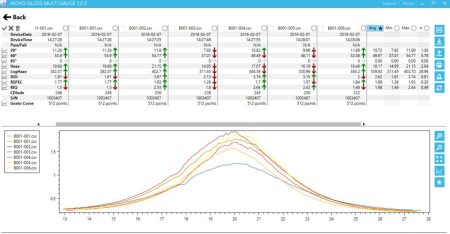
The included software provides an easy means to measure, import and compare data and export the measurements into several other file formats, e.g. PDF, Excel® or CSV.
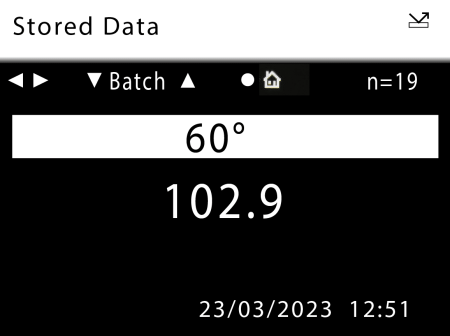
Measurements can be recalled and displayed from any batch stored in the memory.
| 60° Gloss | ||||||
|---|---|---|---|---|---|---|
| Range | 0 - 10 GU | 10 - 100 GU | 100 - 1000 GU | |||
| Repeatability | 0.1 GU | 0.2 GU | 0.2% | |||
| Reproducibility | 0.2 GU | 0.5 GU | 0.5% * | |||
| Resolution | 0.1 GU | |||||
| Measurement Spot | 2mm x 2mm | |||||
| Standards | ISO 2813 | ASTM D523 | |||||
| Instrument Information | ||
|---|---|---|
| Power | 110 –120V AC or 220 –240V AC to power external 9v DC power pack | |
| Measurement Apeture | 4.5mm ø | |
| Operation | Full colour easy to read screen Adjustable brightness 5 button touch sensitive interface, measurement button or optional footswitch | |
| Construction | Integrated calibration holders for error free calibration | |
| Measurement | Fast measurement Results batching with user definable names | |
| Graphical Analysis | On board trend analysis | |
| Statistical Analysis | max, min, mean, S.D. | |
| Memory | 8MB, 2,000 readings | |
| Operating Temperature | 15-40°C (60-104°F) | |
| Operating Humidity | Up to 85%, non condensing | |
| Dimension & Weights | ||
|---|---|---|
| Weight | 2.2kg | |
| Dimensions | 70mm x 190mm x 230mm (H x W x D) | |
| Packed Weight | 3.4kg | |
| Packed Dimensions | 110mm x 280mm x 220mm (H x W x D) | |
| Languages |  | |
| Commodity Code | 9027 5000 | |
| Order Codes | ||
|---|---|---|
| Novo-Curve 4 Glossmeter | A1277-600 | |
| 4x Jigging posts | B1277-602 | |
| Mirror gloss calibration standard | B6000-101 | |
Free extended 2 year warranty: Requires registration at www.rhopointinstruments.com/help-services/forms-feedback/instrument-registration/ within 28 days of purchase. Without registration, 1 year standard warranty applies.
Guaranteed for the life of the instrument.
Fast and economic service via our global network of accredited calibration and service centres. Please visit www.rhopointinstruments.com/help-services/calibration-servicing/ for detailed information.
Gloss is an aspect of the visual perception of objects that is as important as colour when considering the psychological impact of products on a
Identify the surface that you wish to measure. Is it a flat surface? If so, it can be measured with a traditional glossmeter. Curved surfaces
RSpec is the peak reflectance measured over a very narrow angular band in the specular direction (+/-) 0.0991º. RSpec is very sensitive to any texture
Please note, this is NOT a quotation, just a confirmation of the price when purchased in the UK exclusive of VAT/duties